High Torque Panthera-HT 6-Axis Robotic Arm Integration
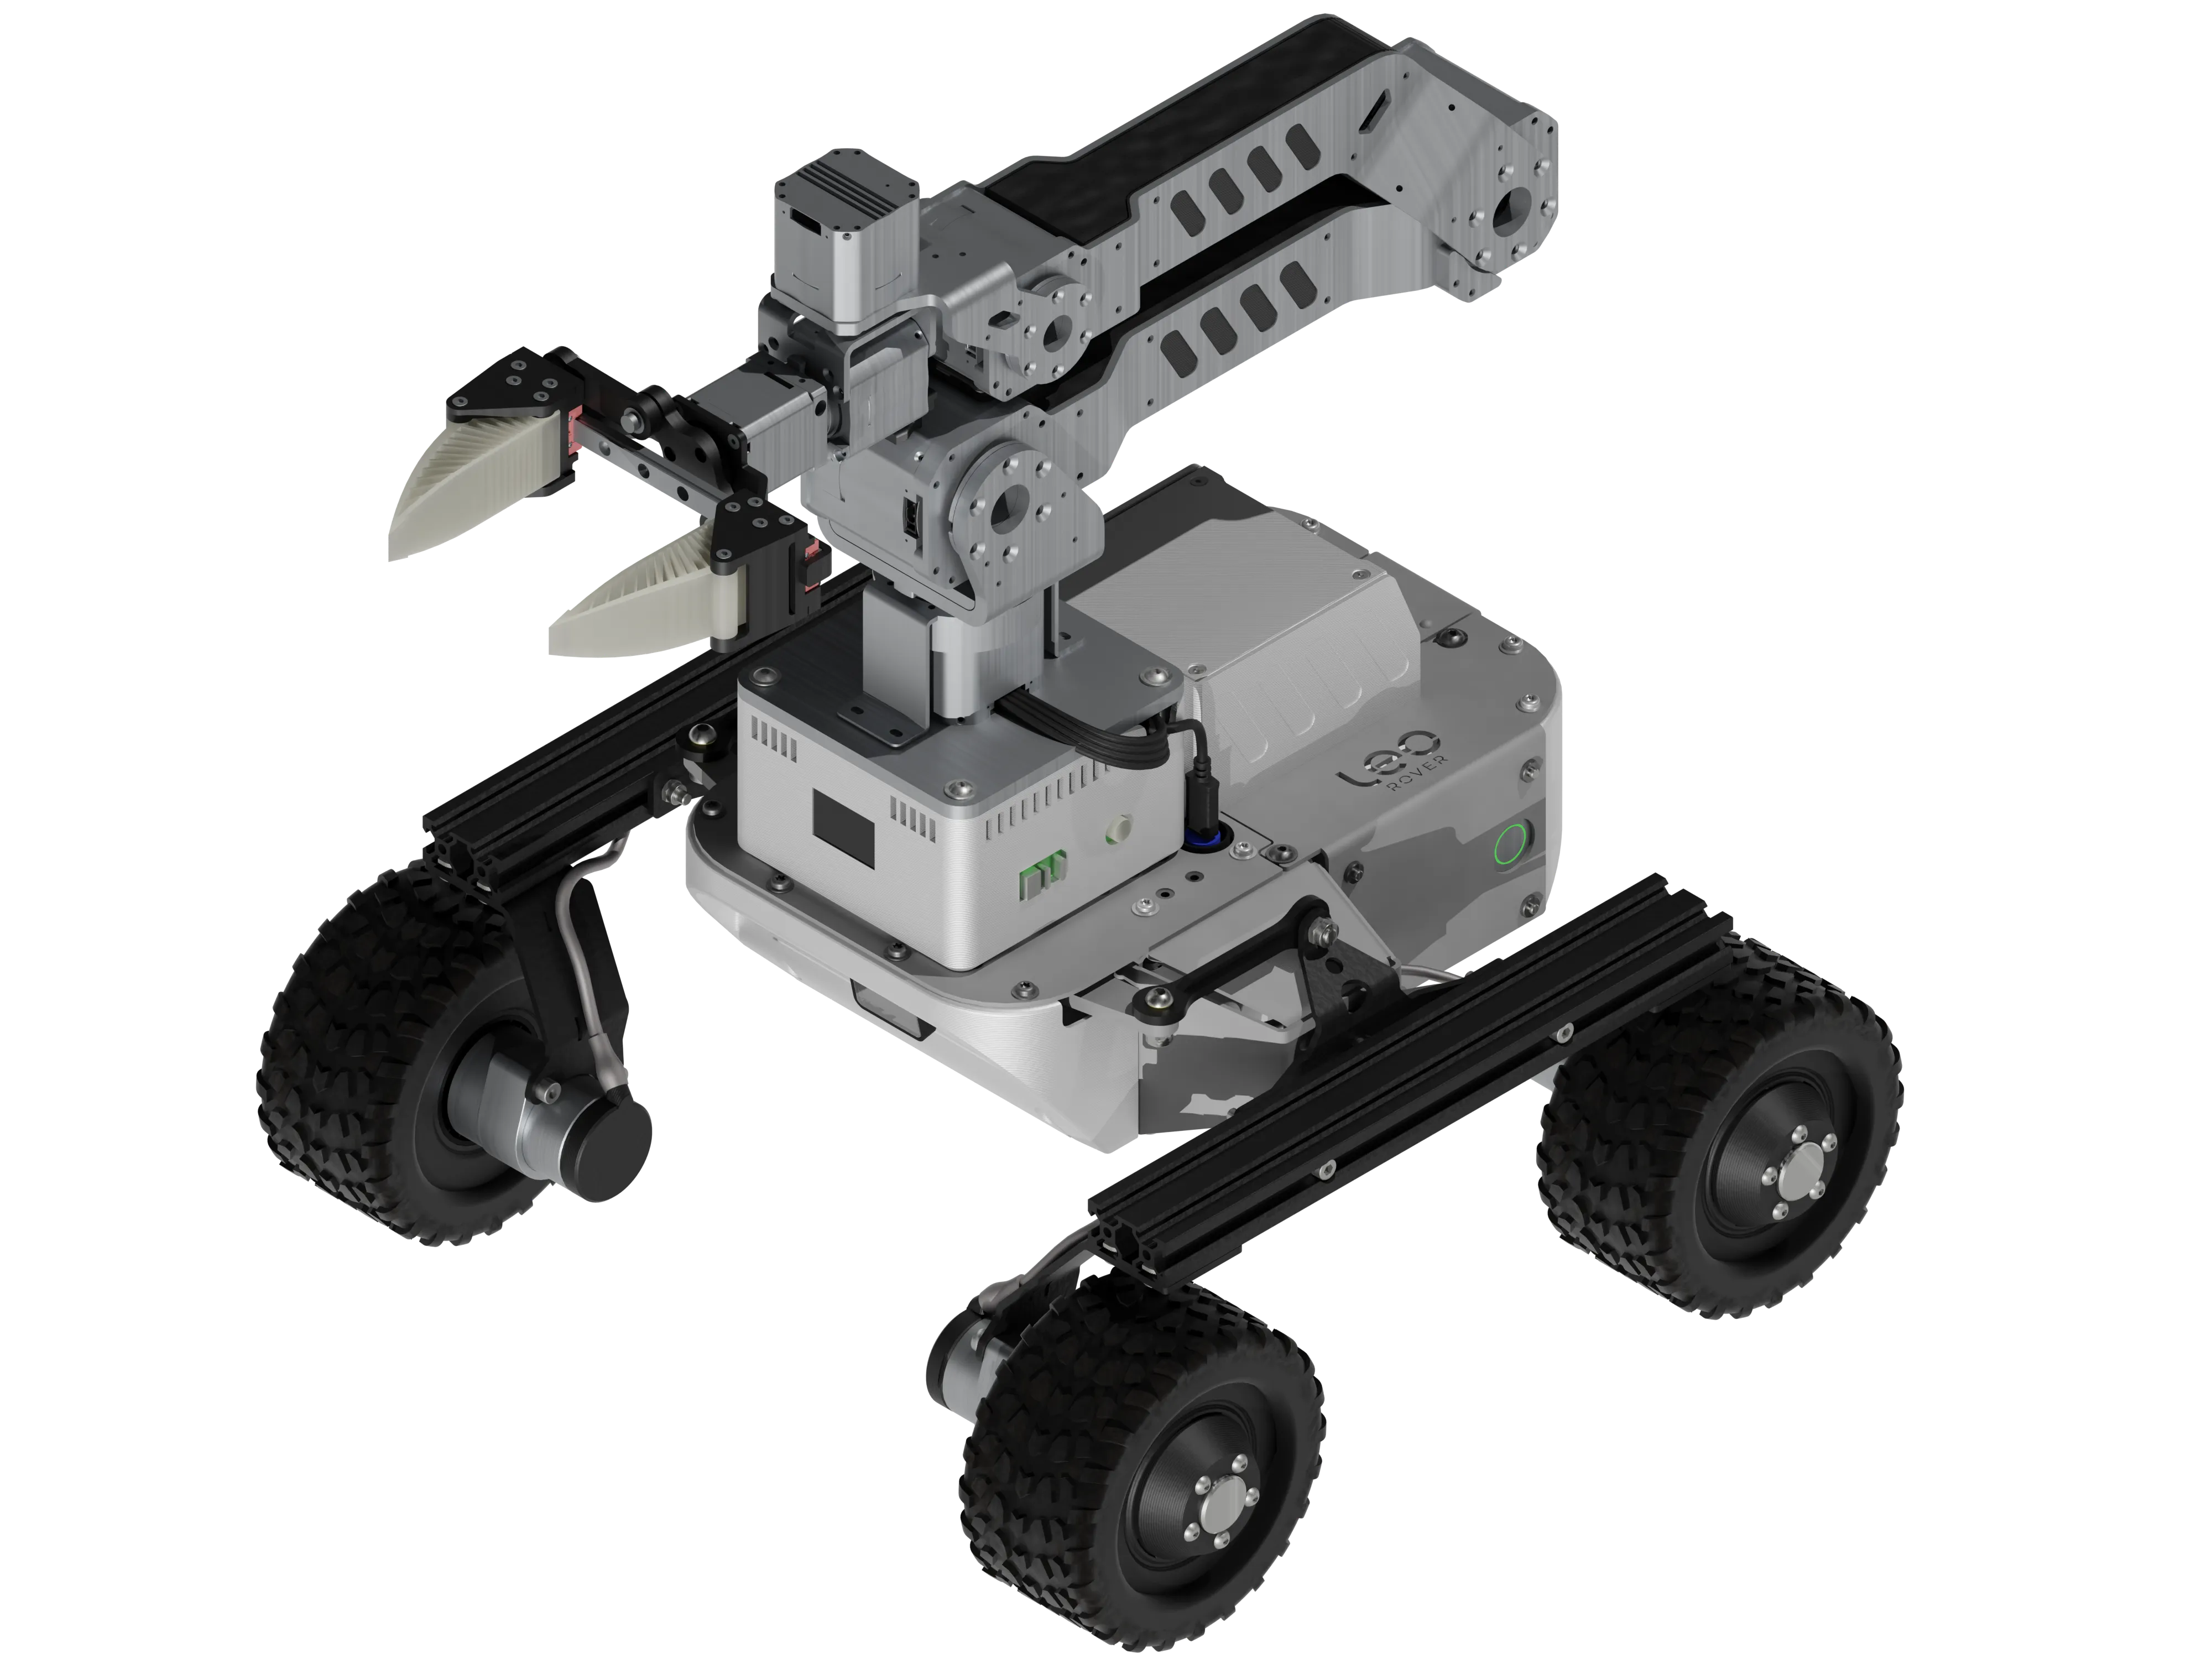
In this tutorial we will go through the process of connecting a Panthera-HT robotic arm to your Leo Rover and integrating it with the system using ROS.
Panthera-HT is a lightweight 6-DOF robotic arm with an 860 mm reach, up to 3.5 kg static payload, and 0.1 mm repeatability, designed for precise manipulation tasks such as pick-and-place, alignment, and trajectory-following in research, education, and automation workflows.
What to expect?
After completing this tutorial, you will have the Panthera-HT robotic arm mounted on your Leo Rover, and you will be able to control the arm through ROS interfaces - either via MoveIt or through a provided SDK. You can find all available topics and configuration options here.
Prerequisites
Referenced products
Hardware integration
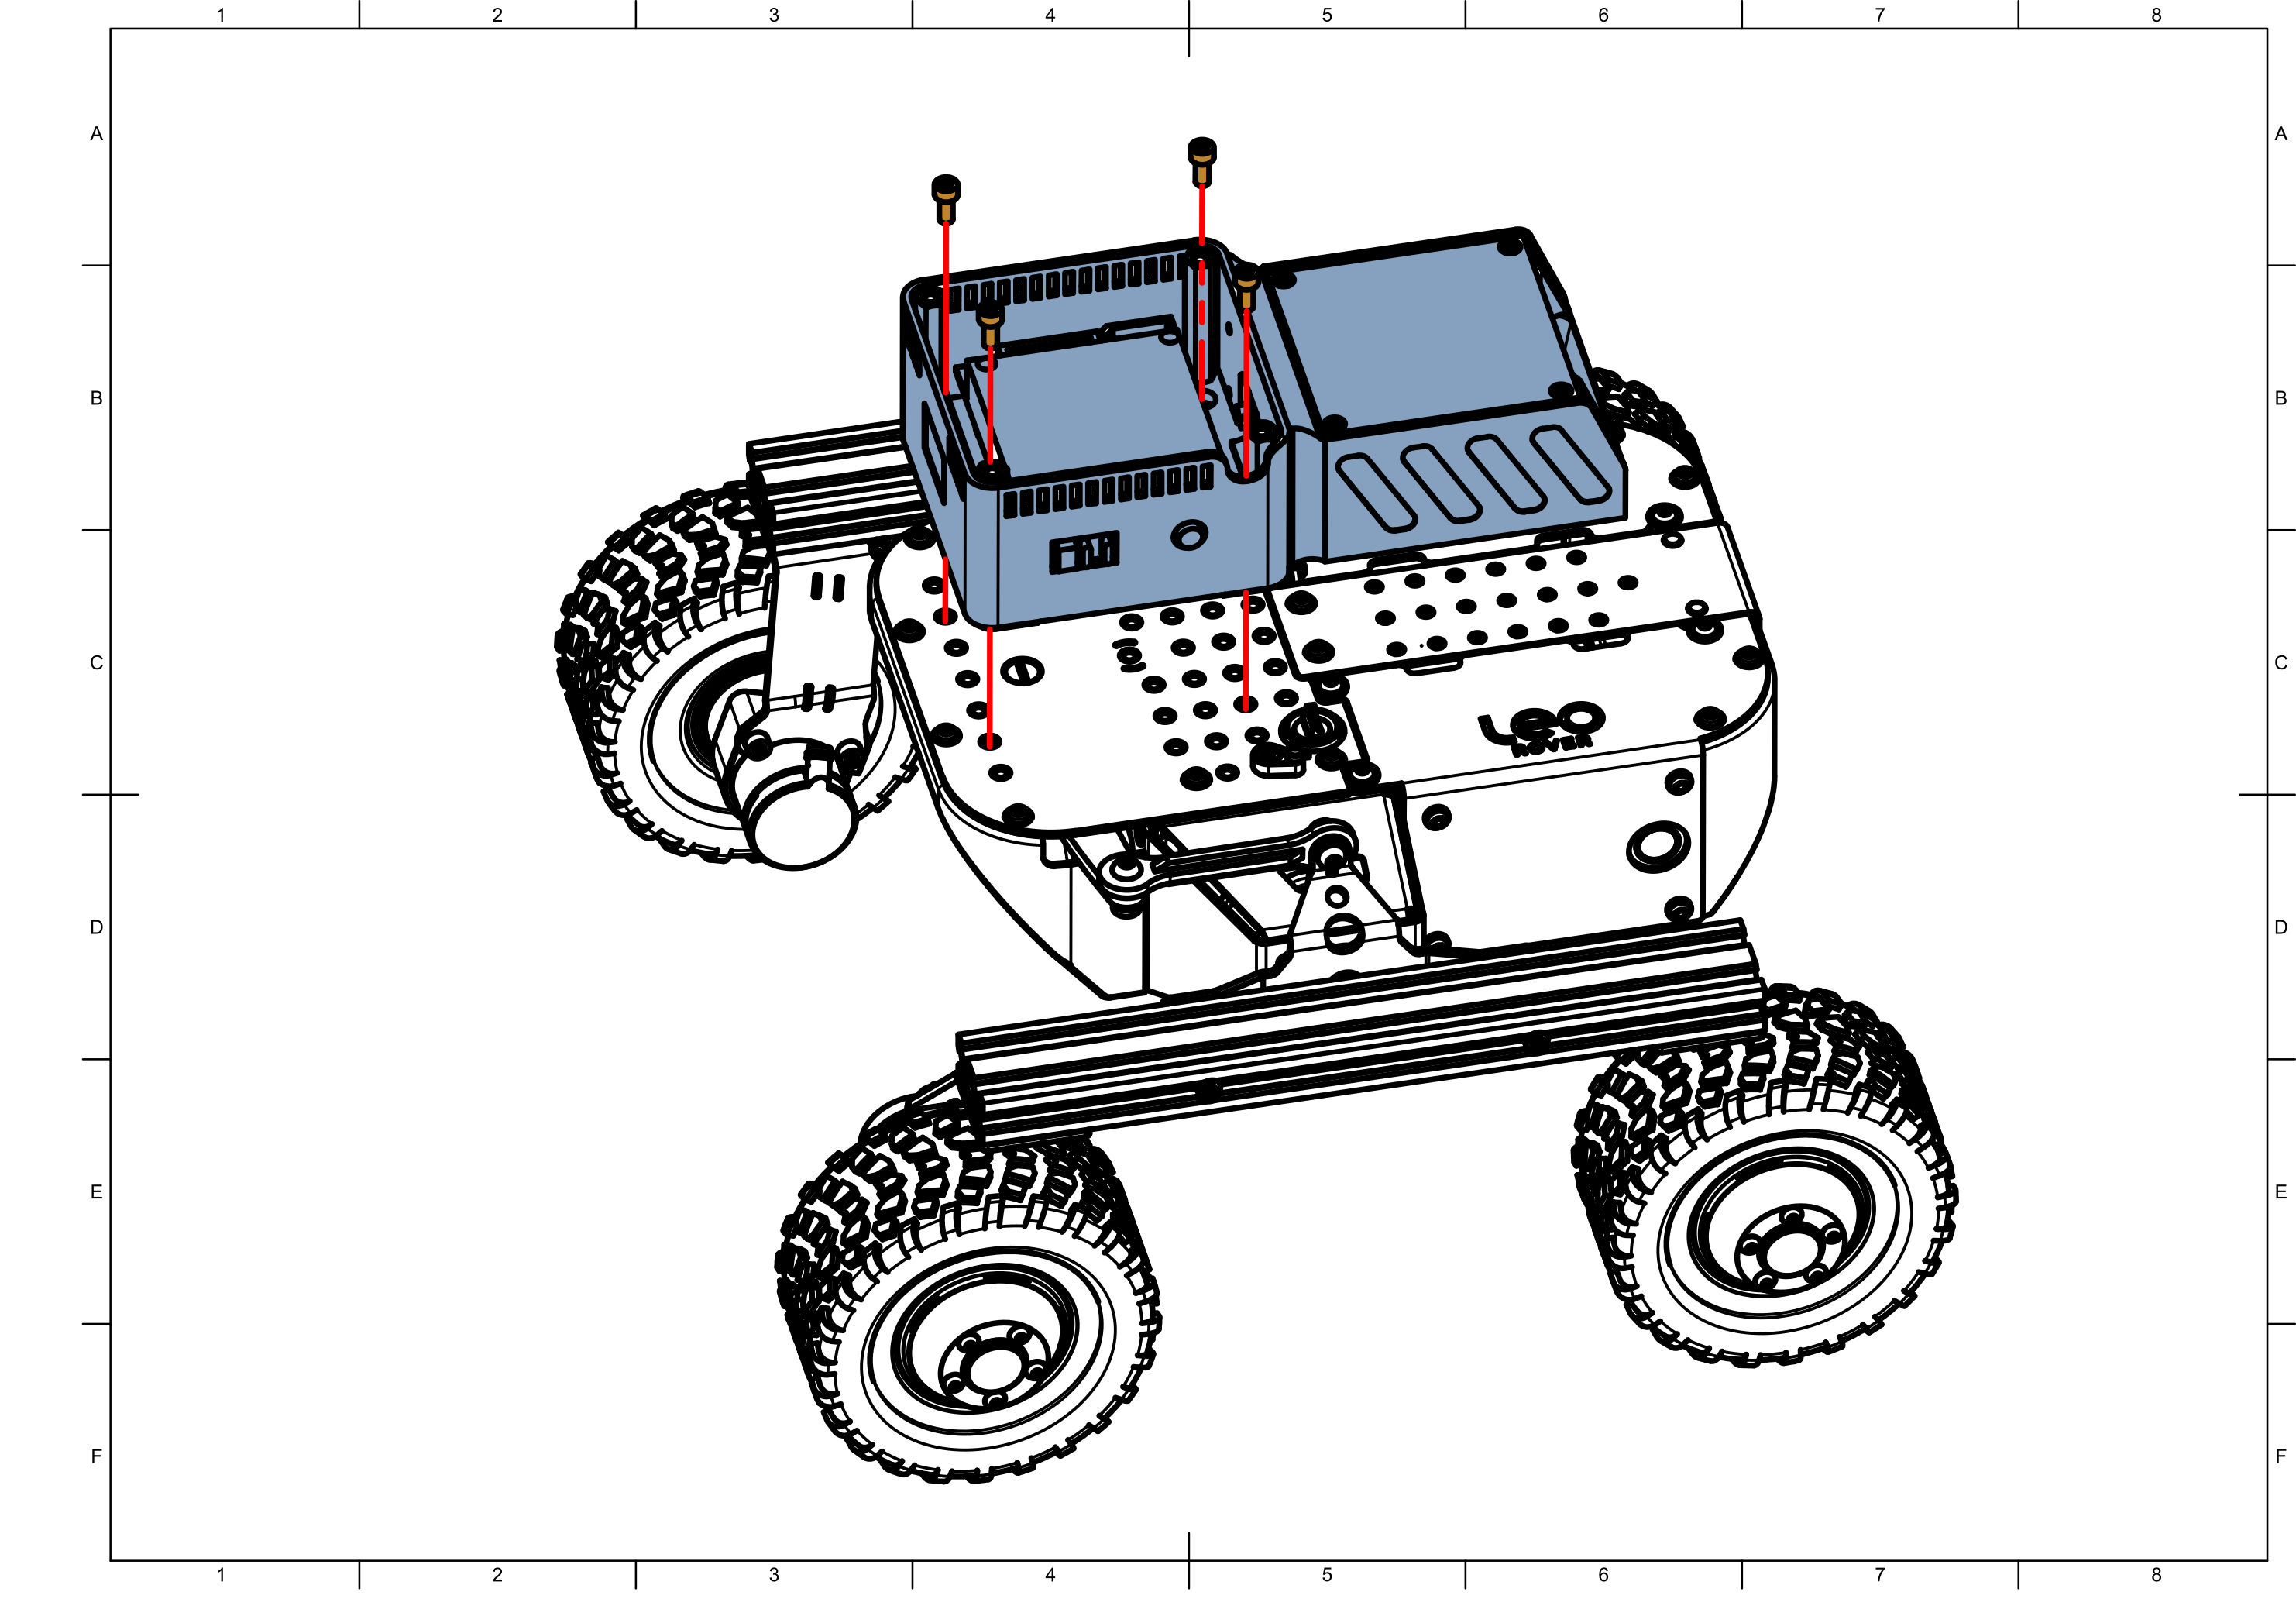
Attach arm base to the rover using 4 M5 x 12 screws .
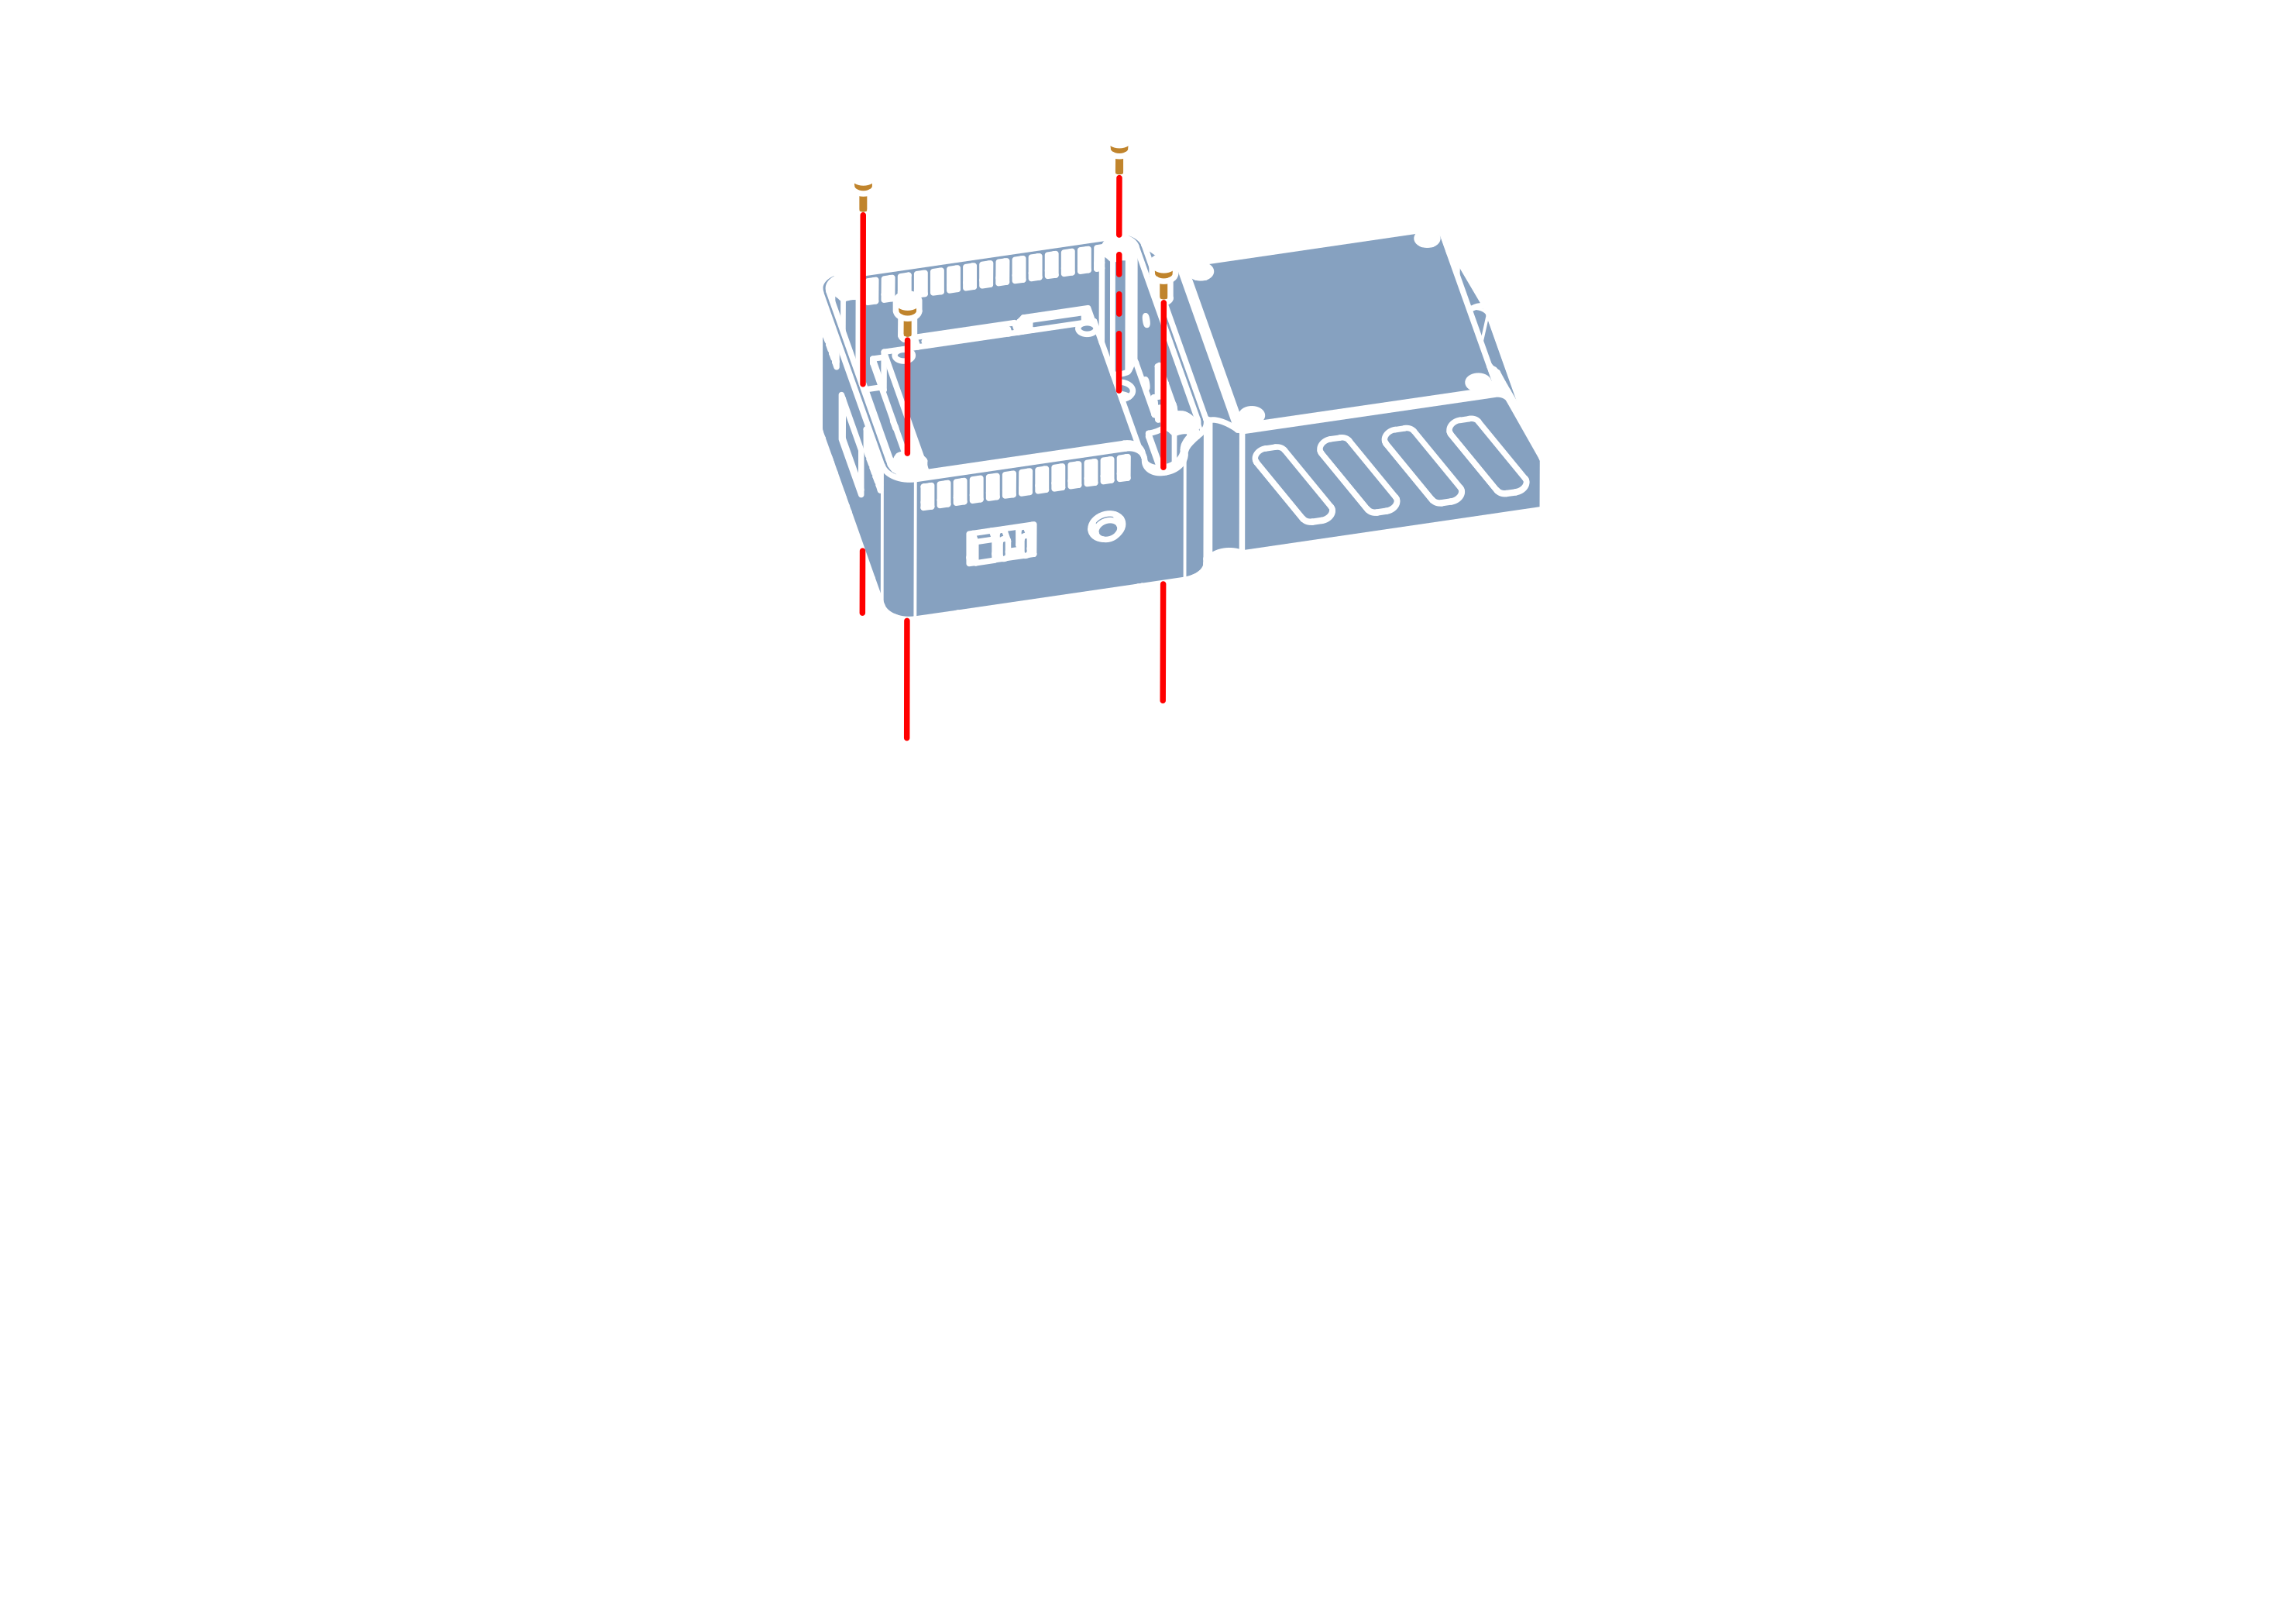
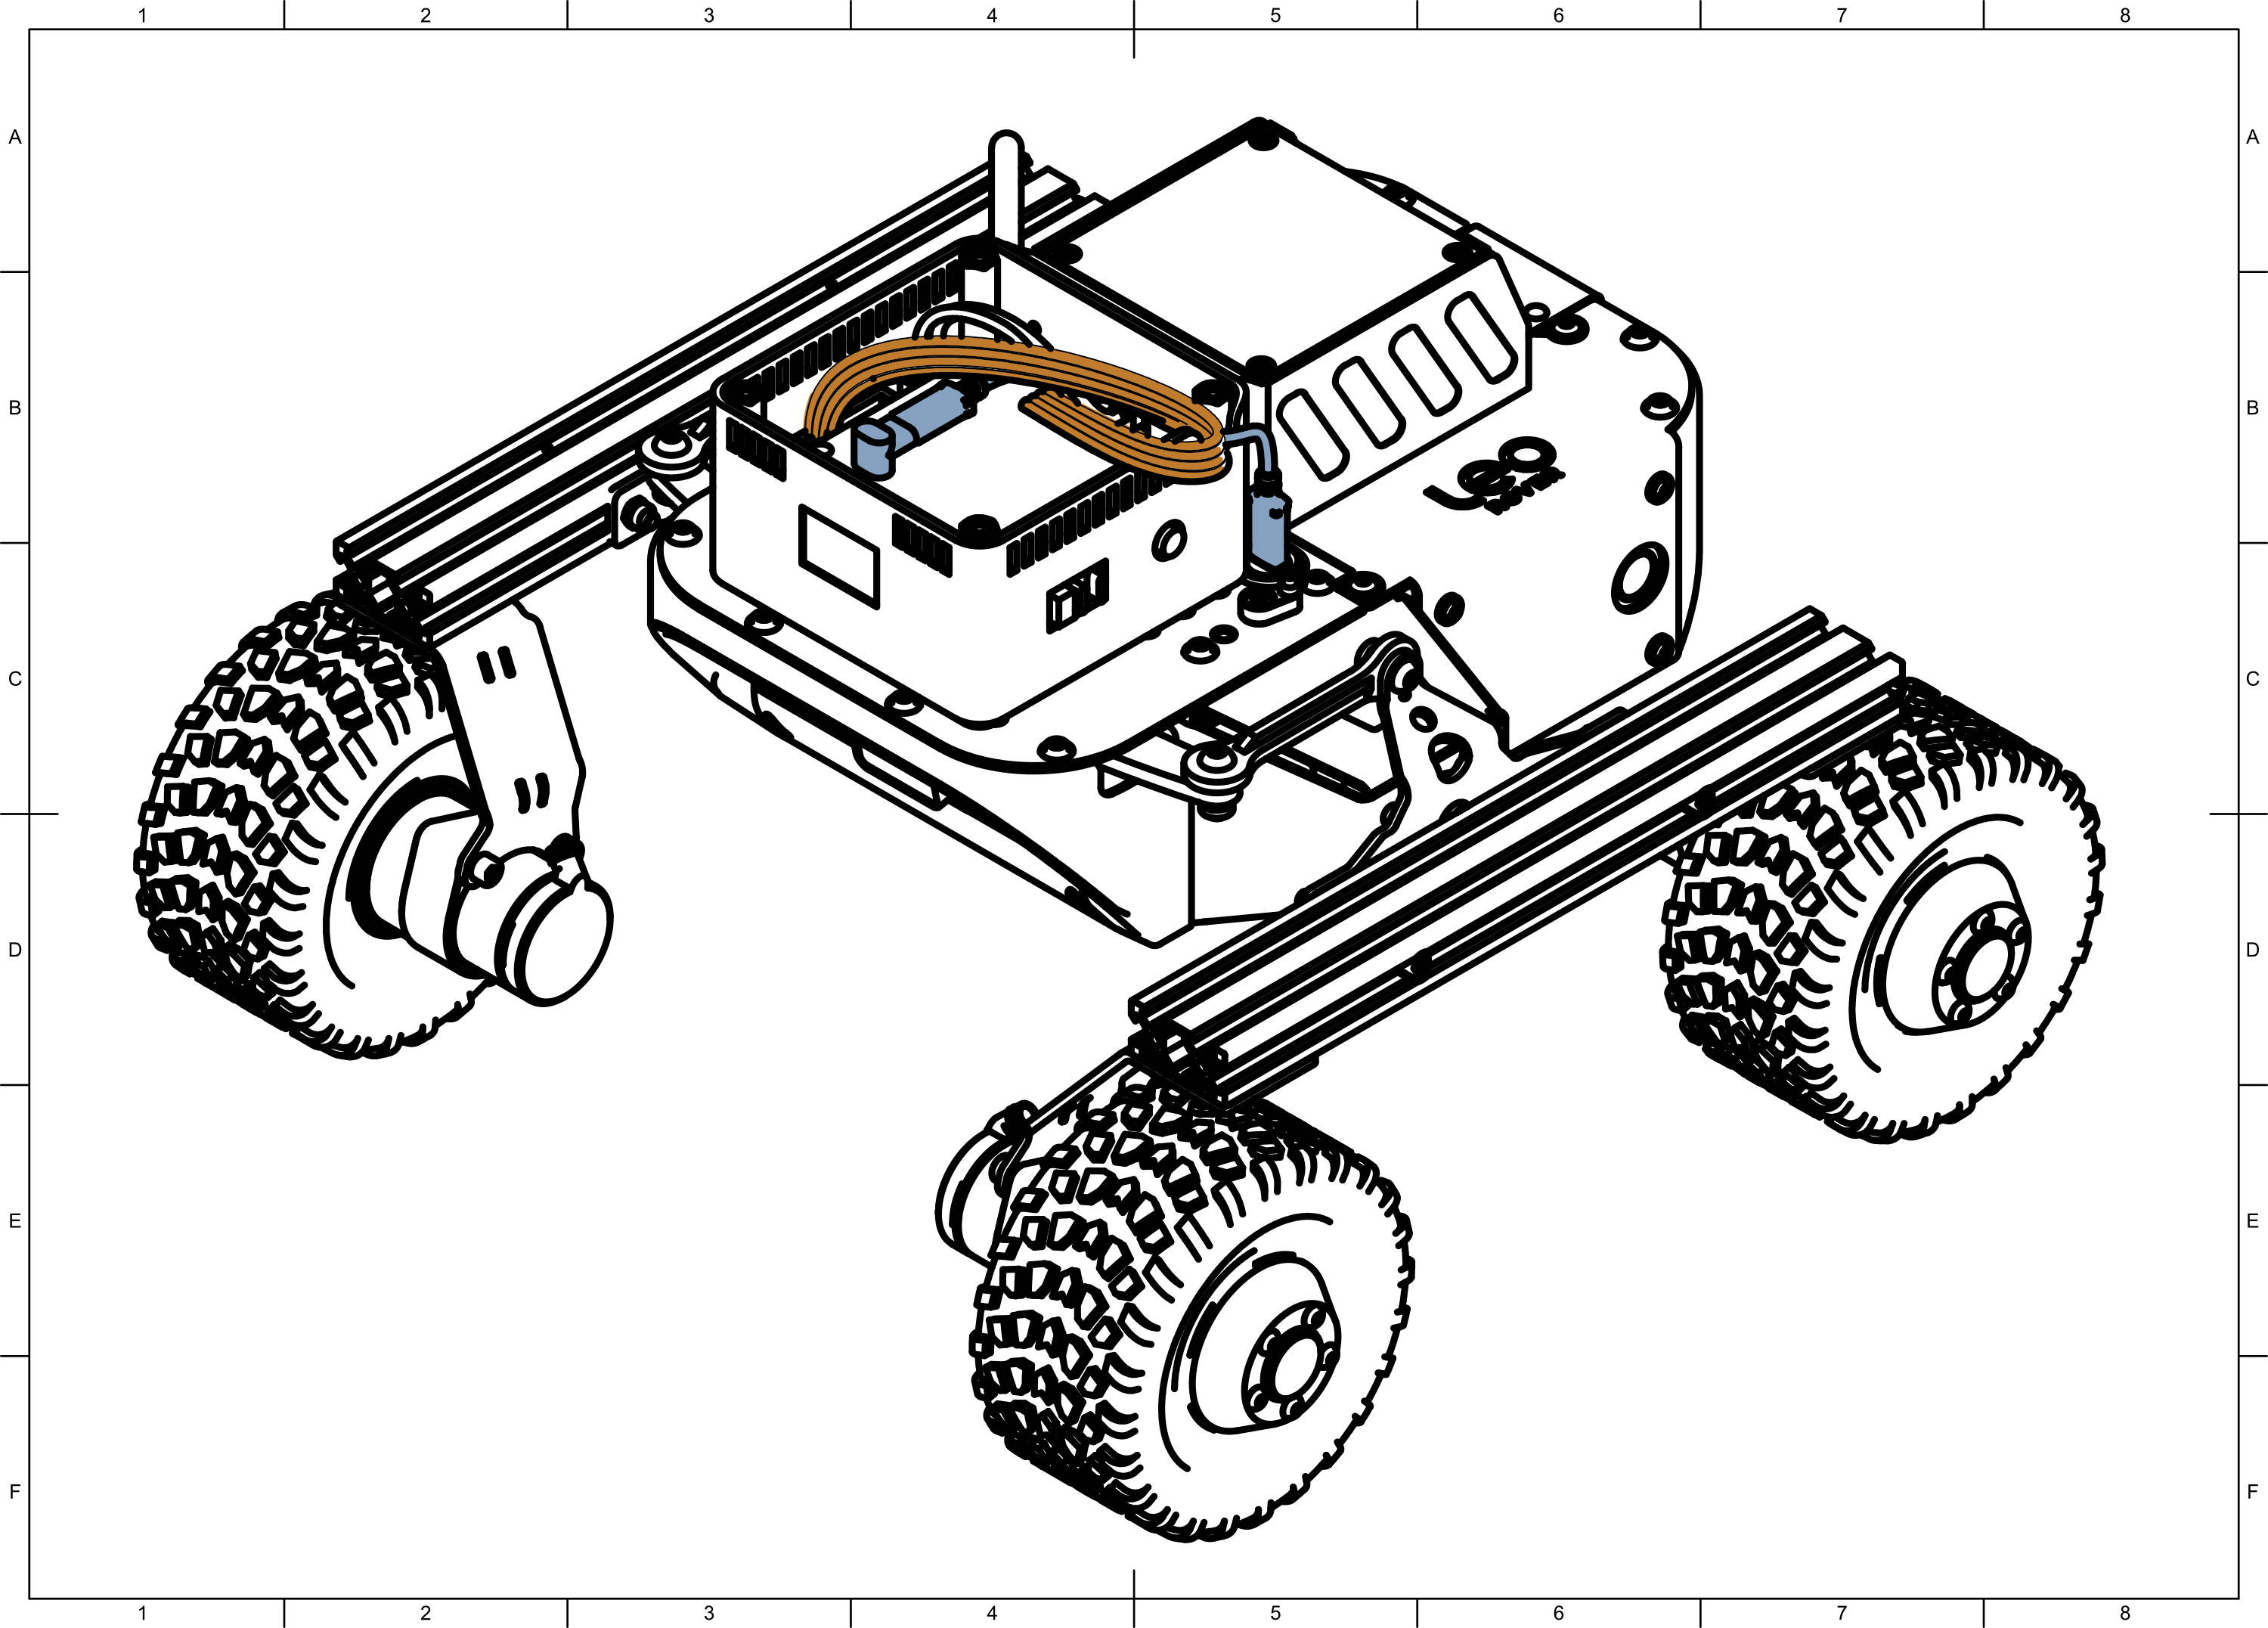
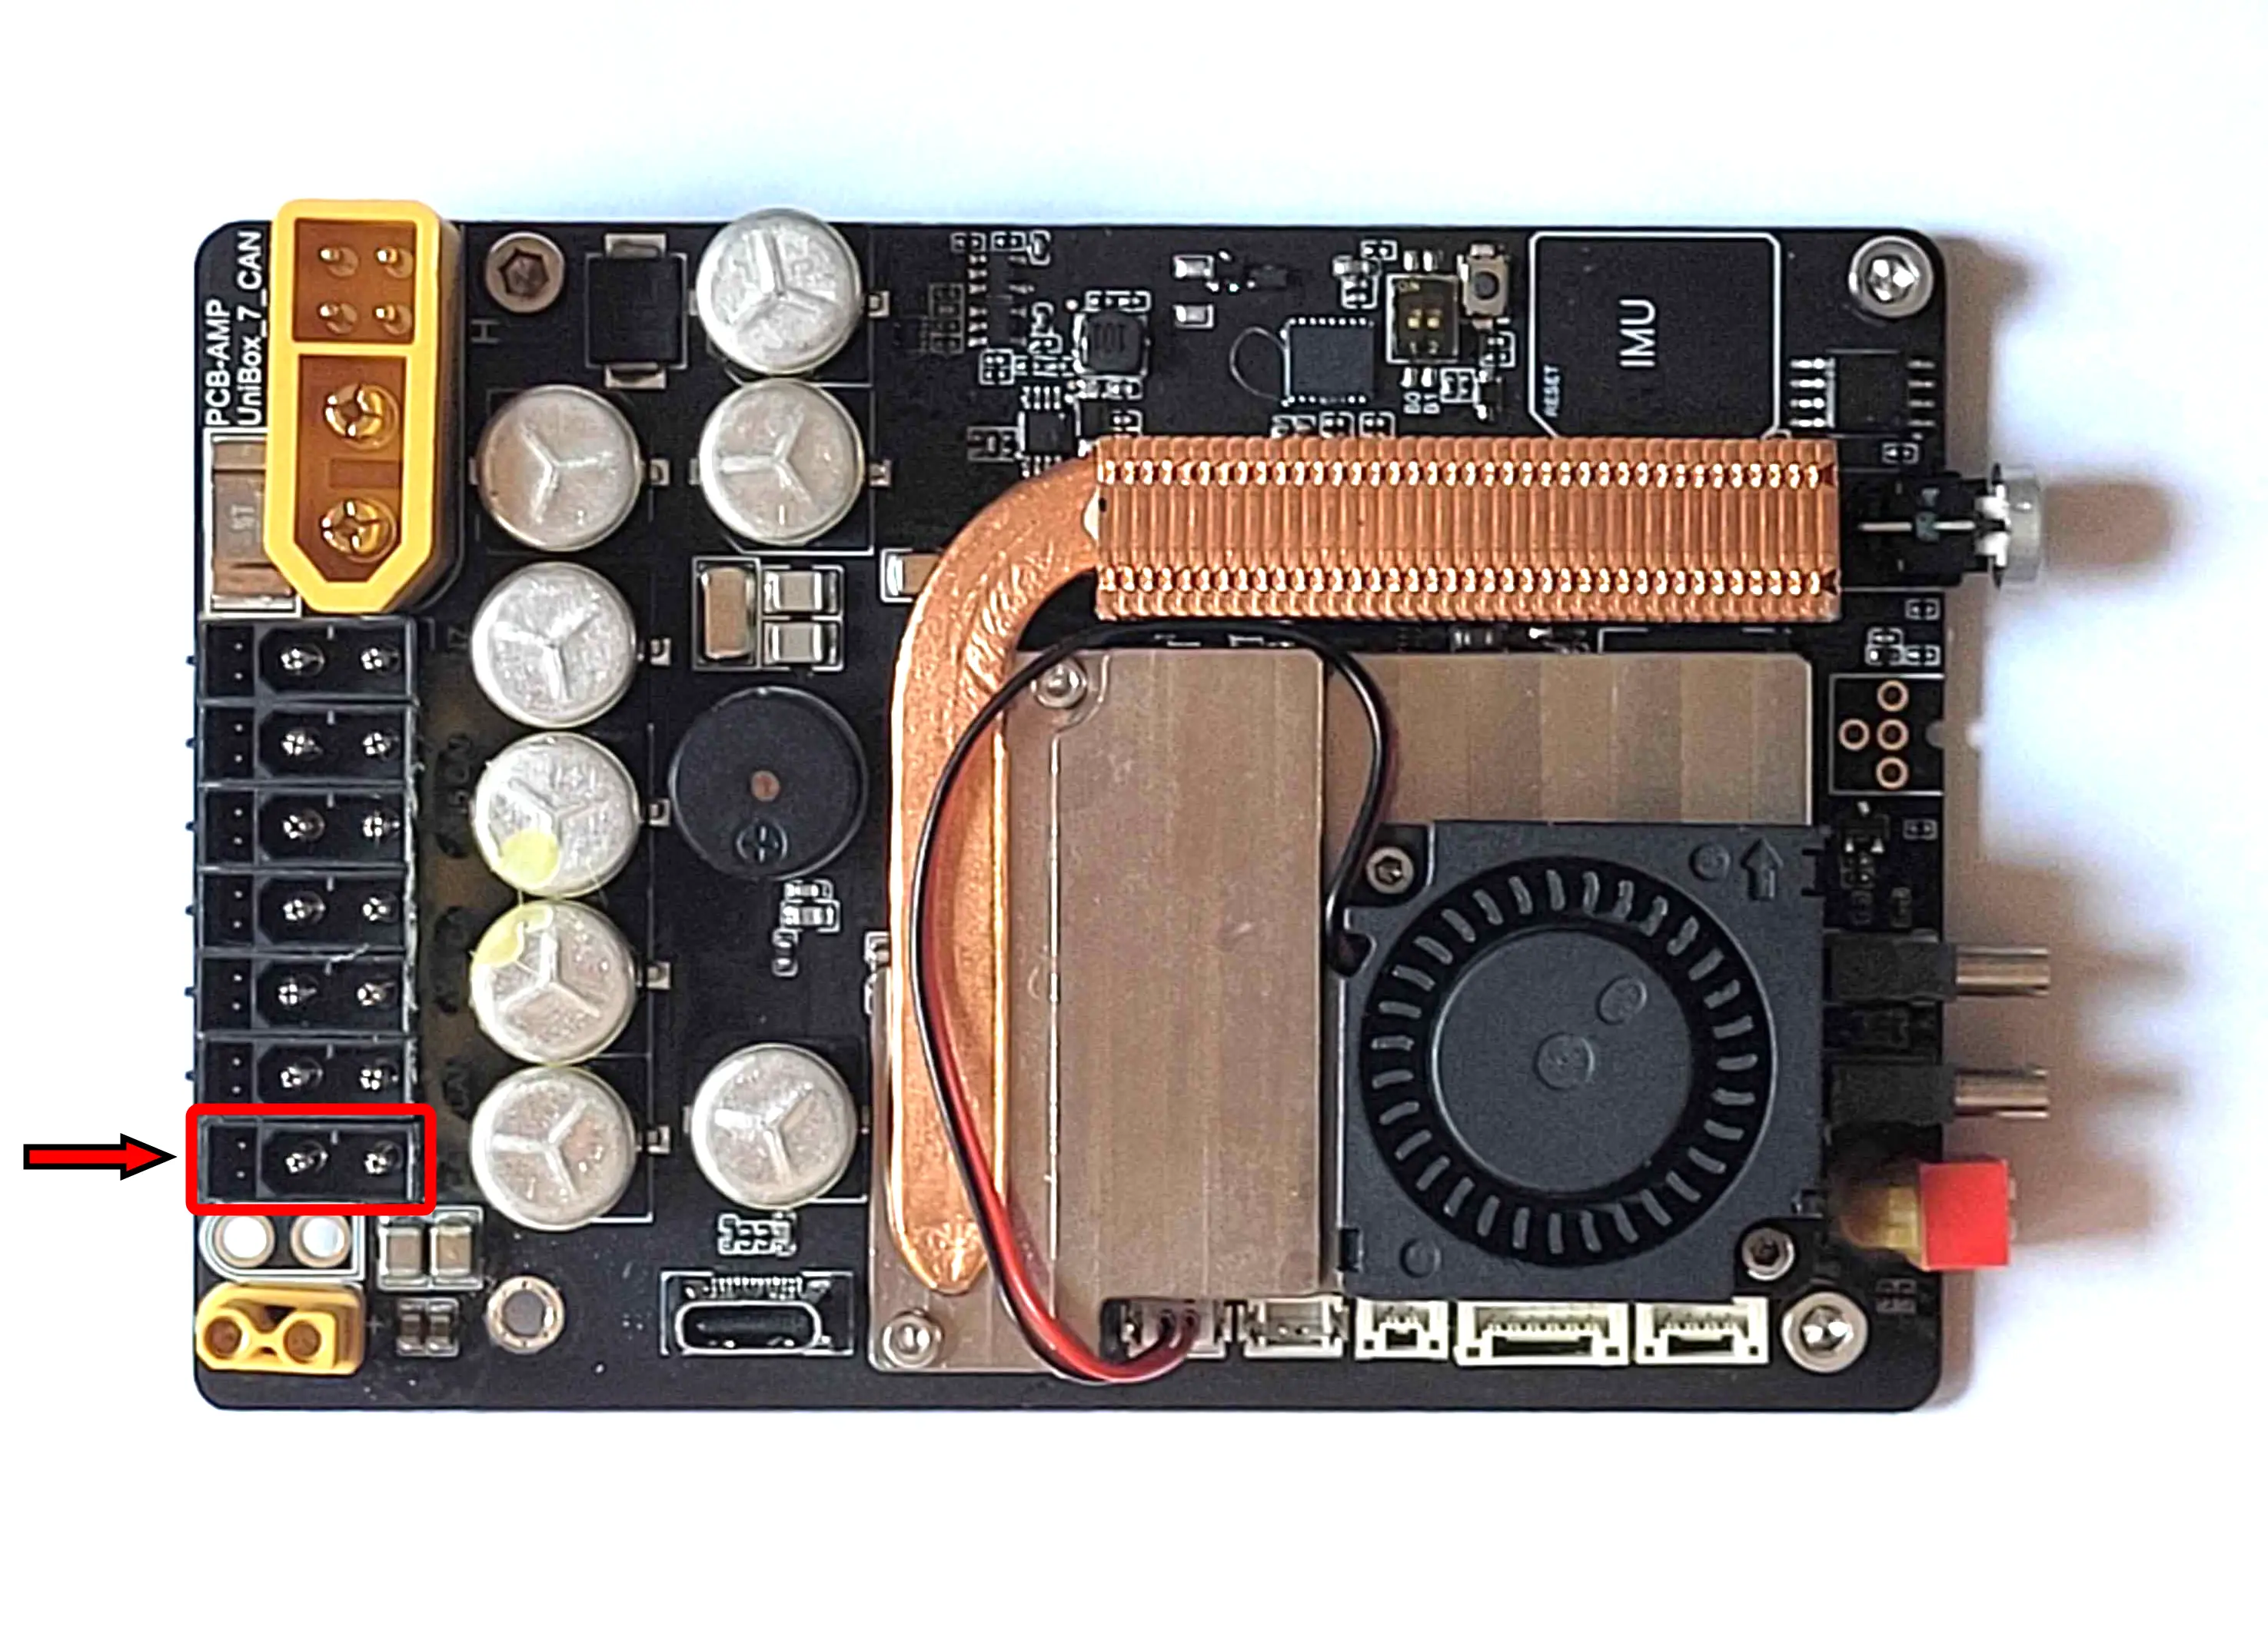
Connect CAN/power ribbon cable to the last port on the arm PCB, and route the ribbon through the side opening.
Connect the angled end of the USB-C cable to the base board’s internal USB-C port. Route the cable through the side opening, and connect the other end to the rover’s USB port.
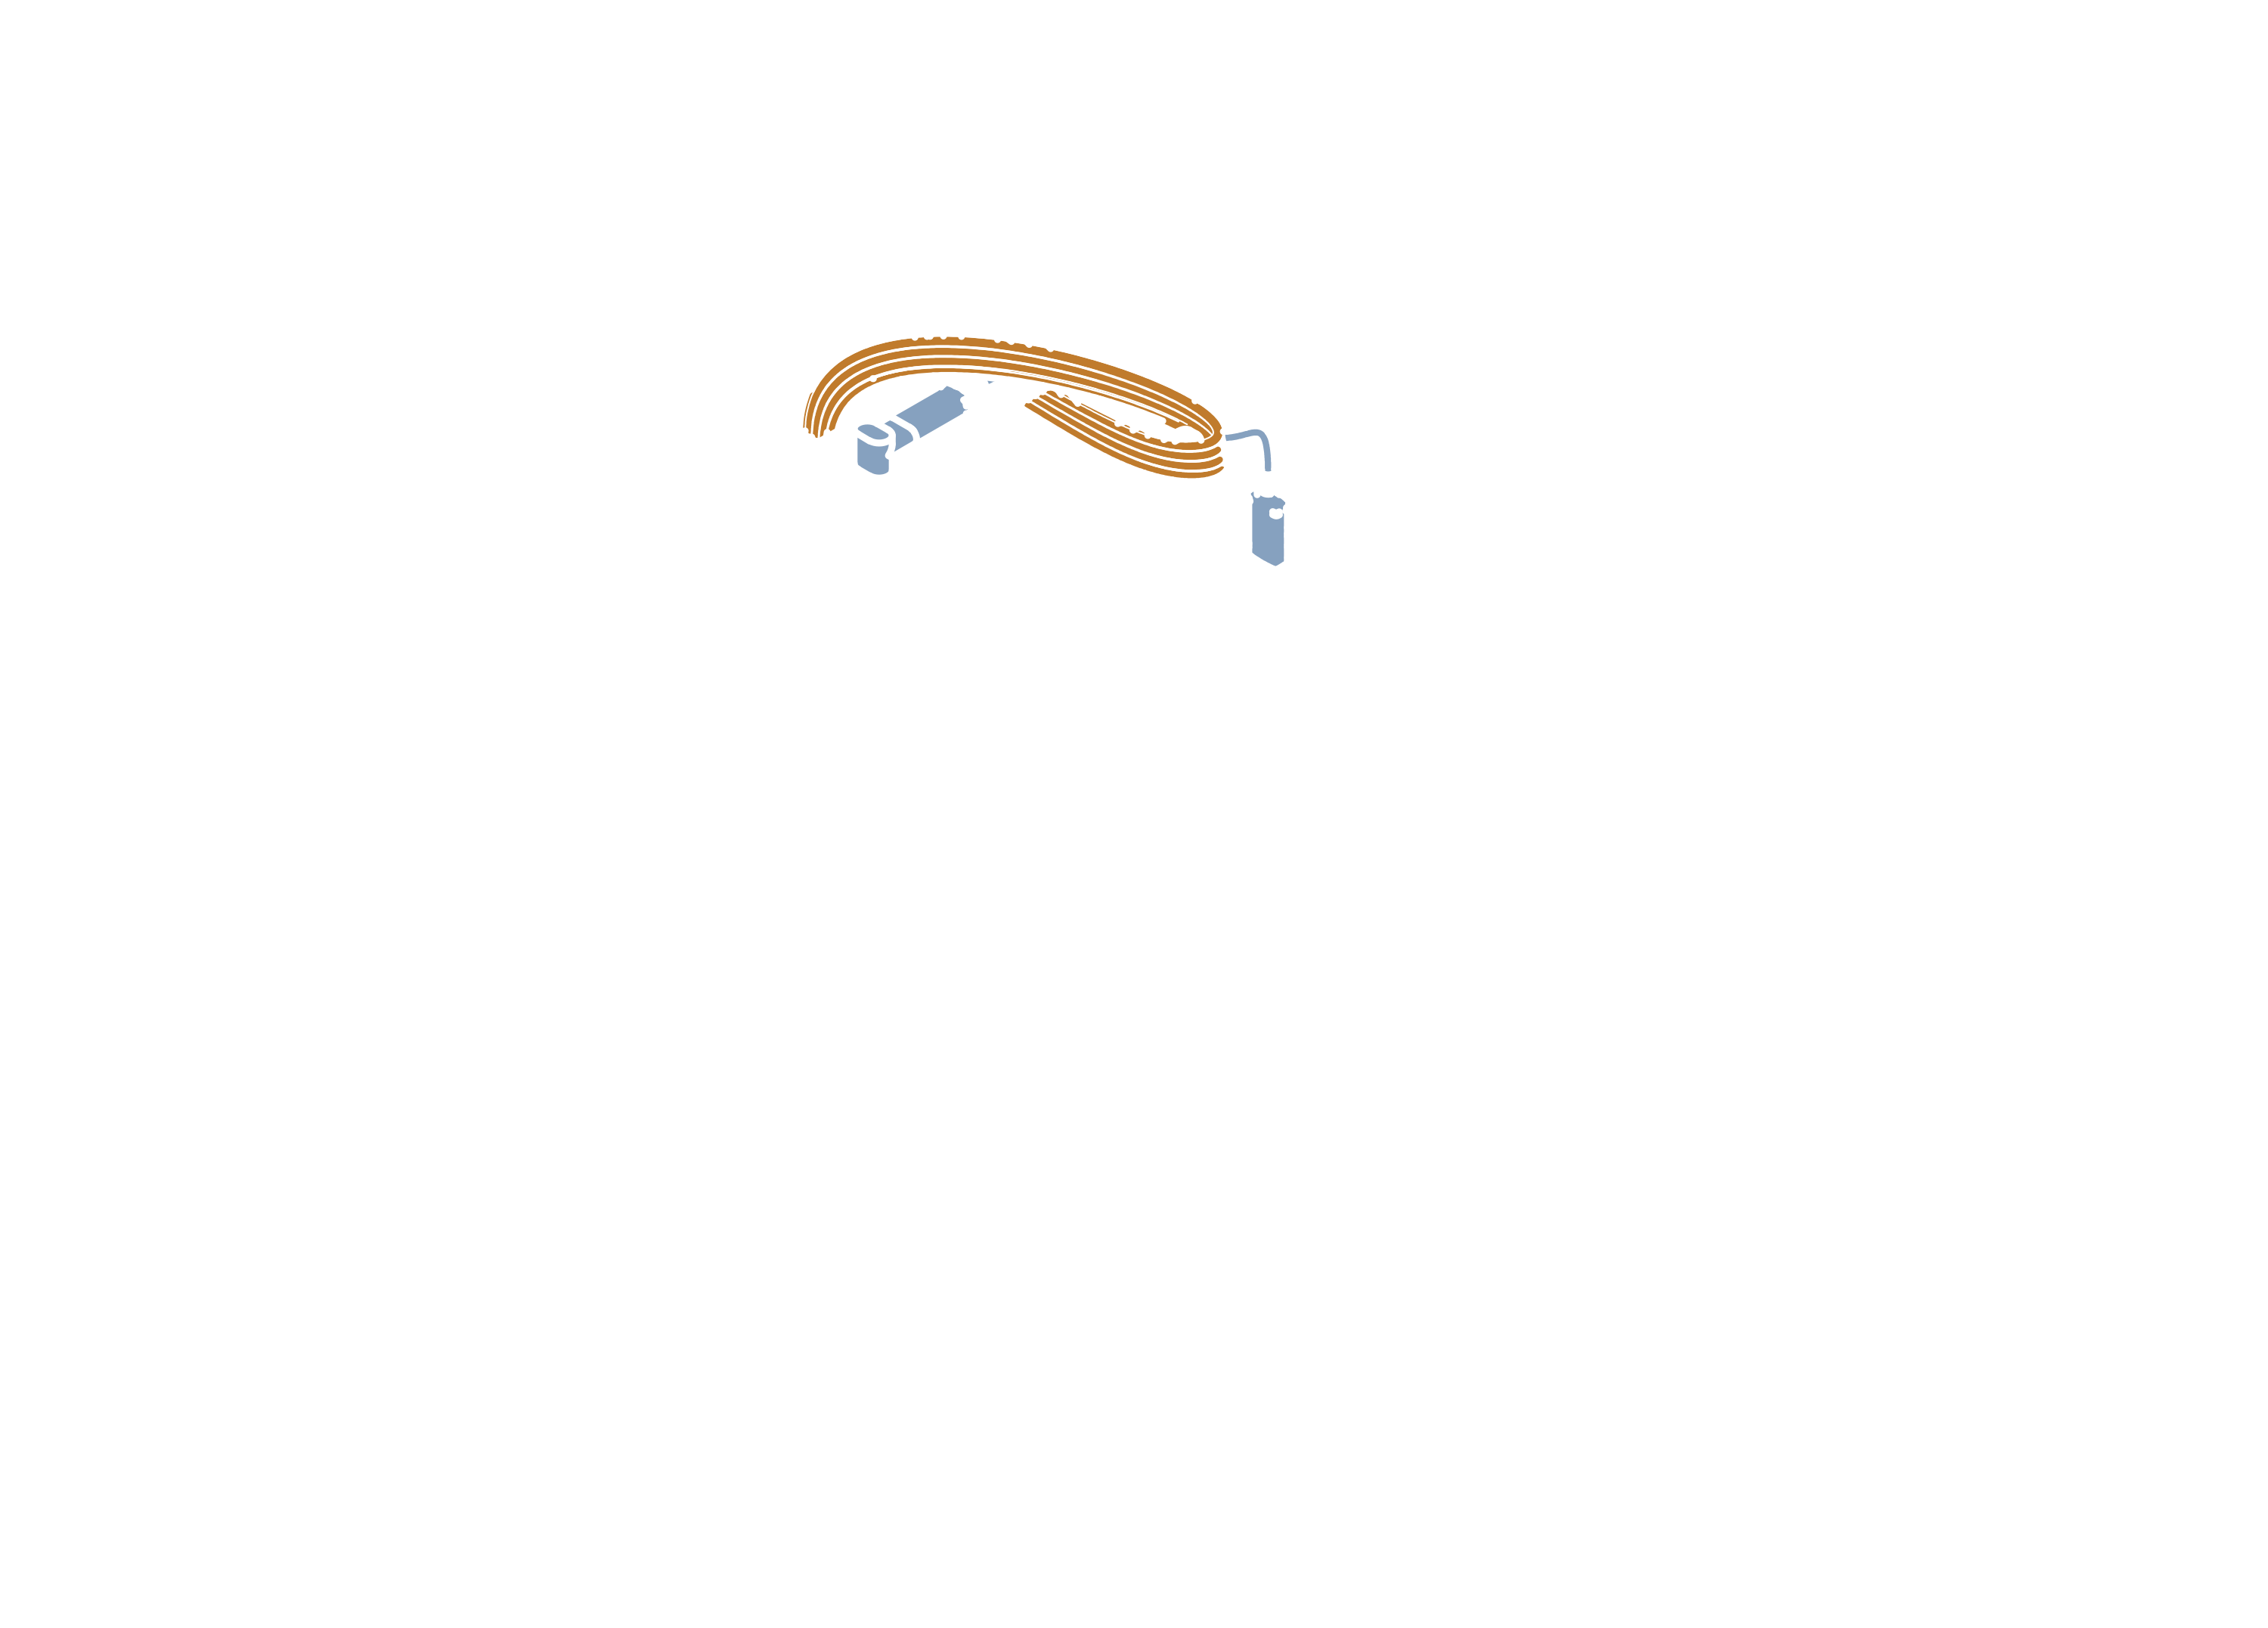
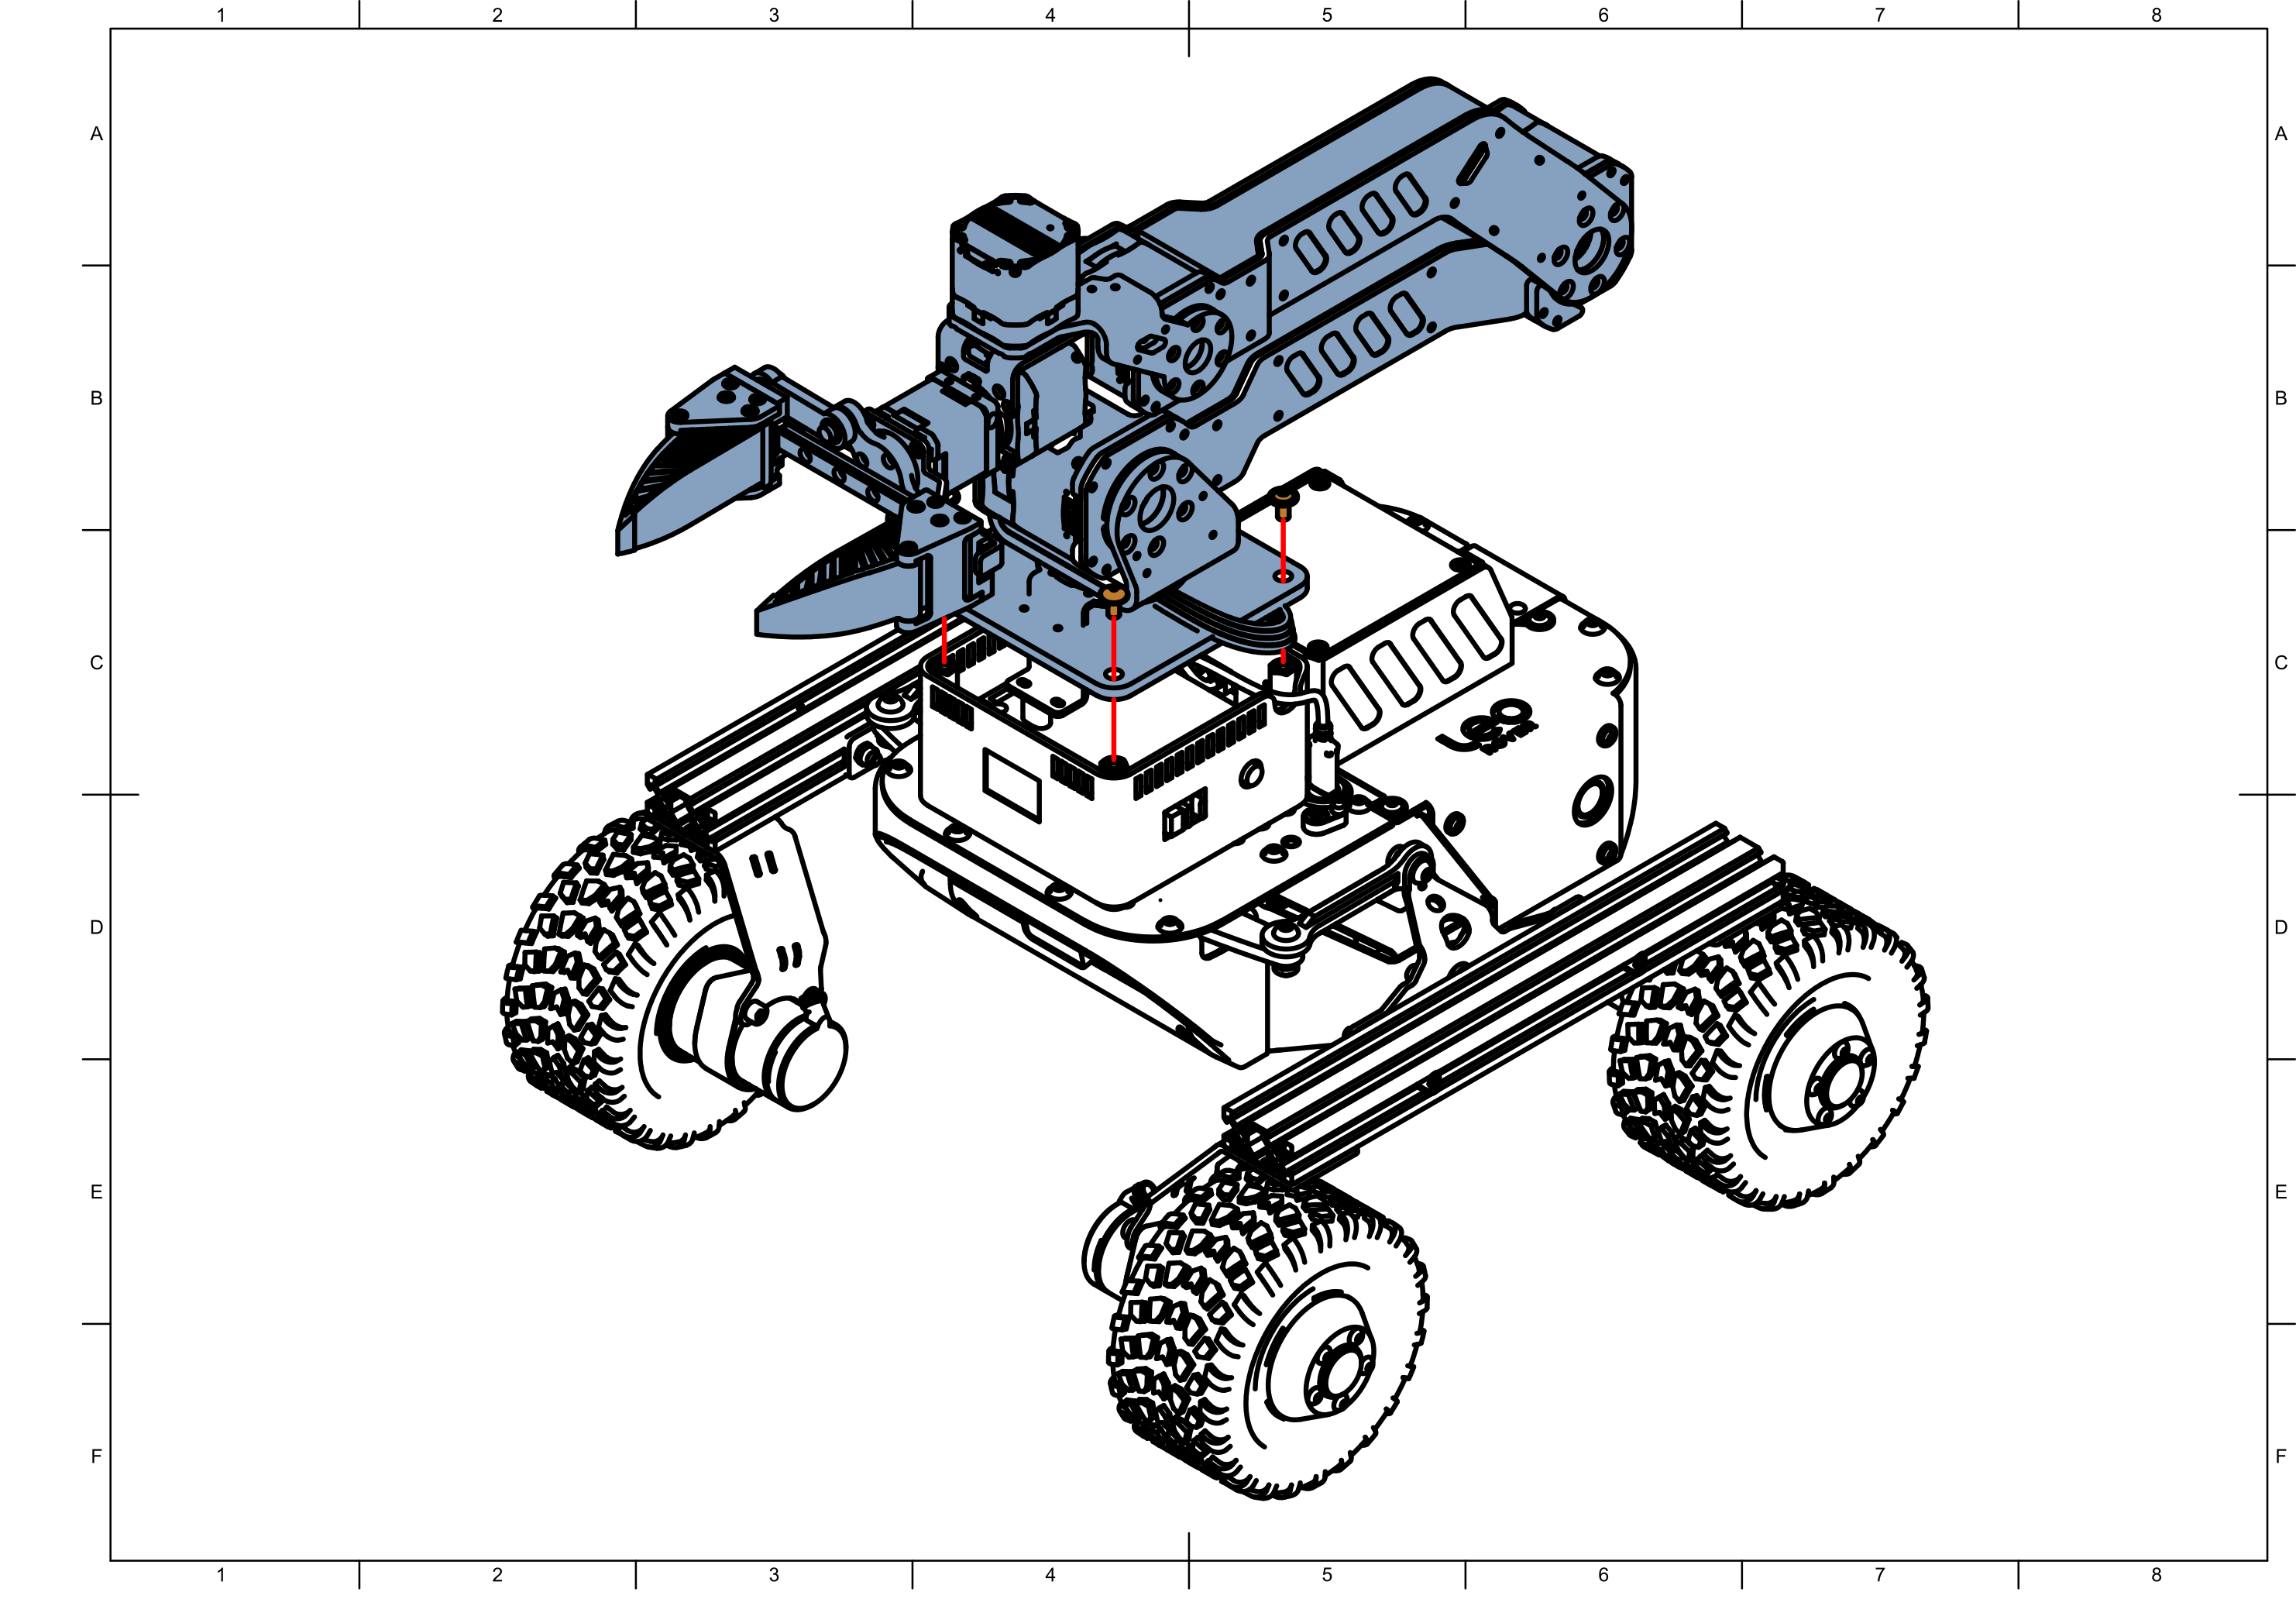
Attach the Panther HT arm to the base using
4 M5 x 12 screws. Route the ribbon and USB cables through the side cutout. Ensure no cables are trapped between the arm base and the plastic cover.
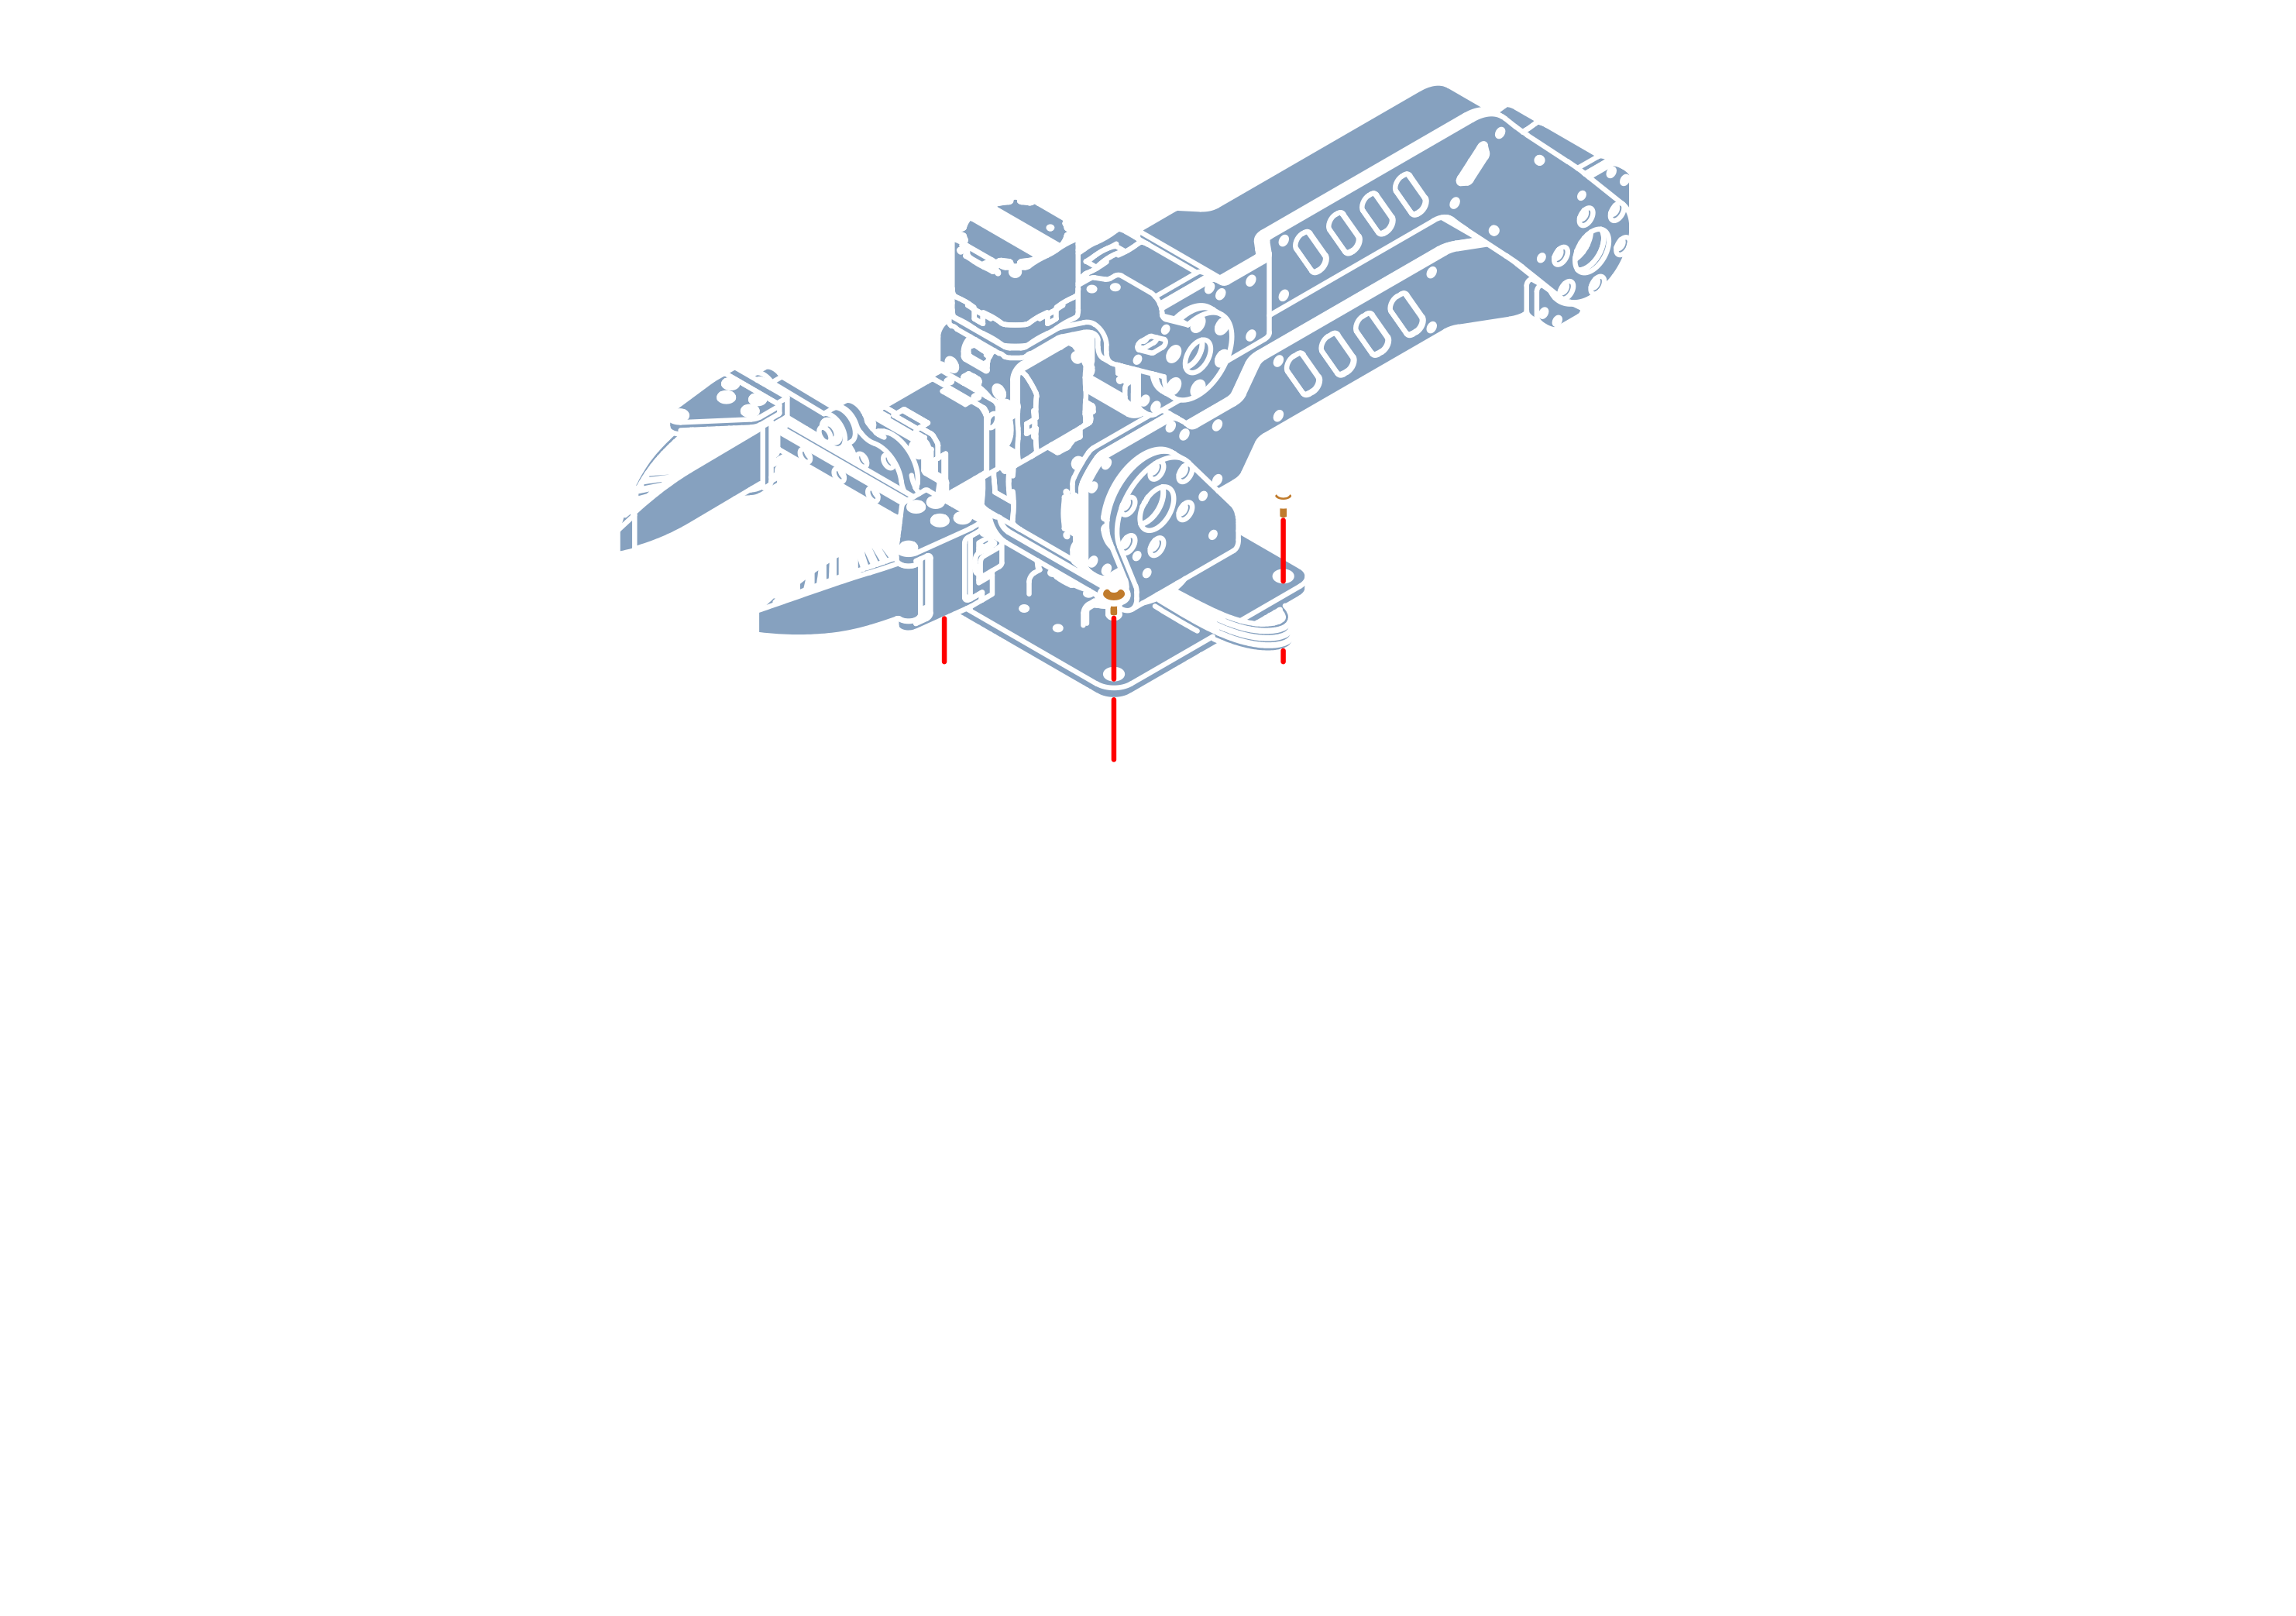
Connect the other end of the CAN/power ribbon cable to the connector on the first motor of the arm.
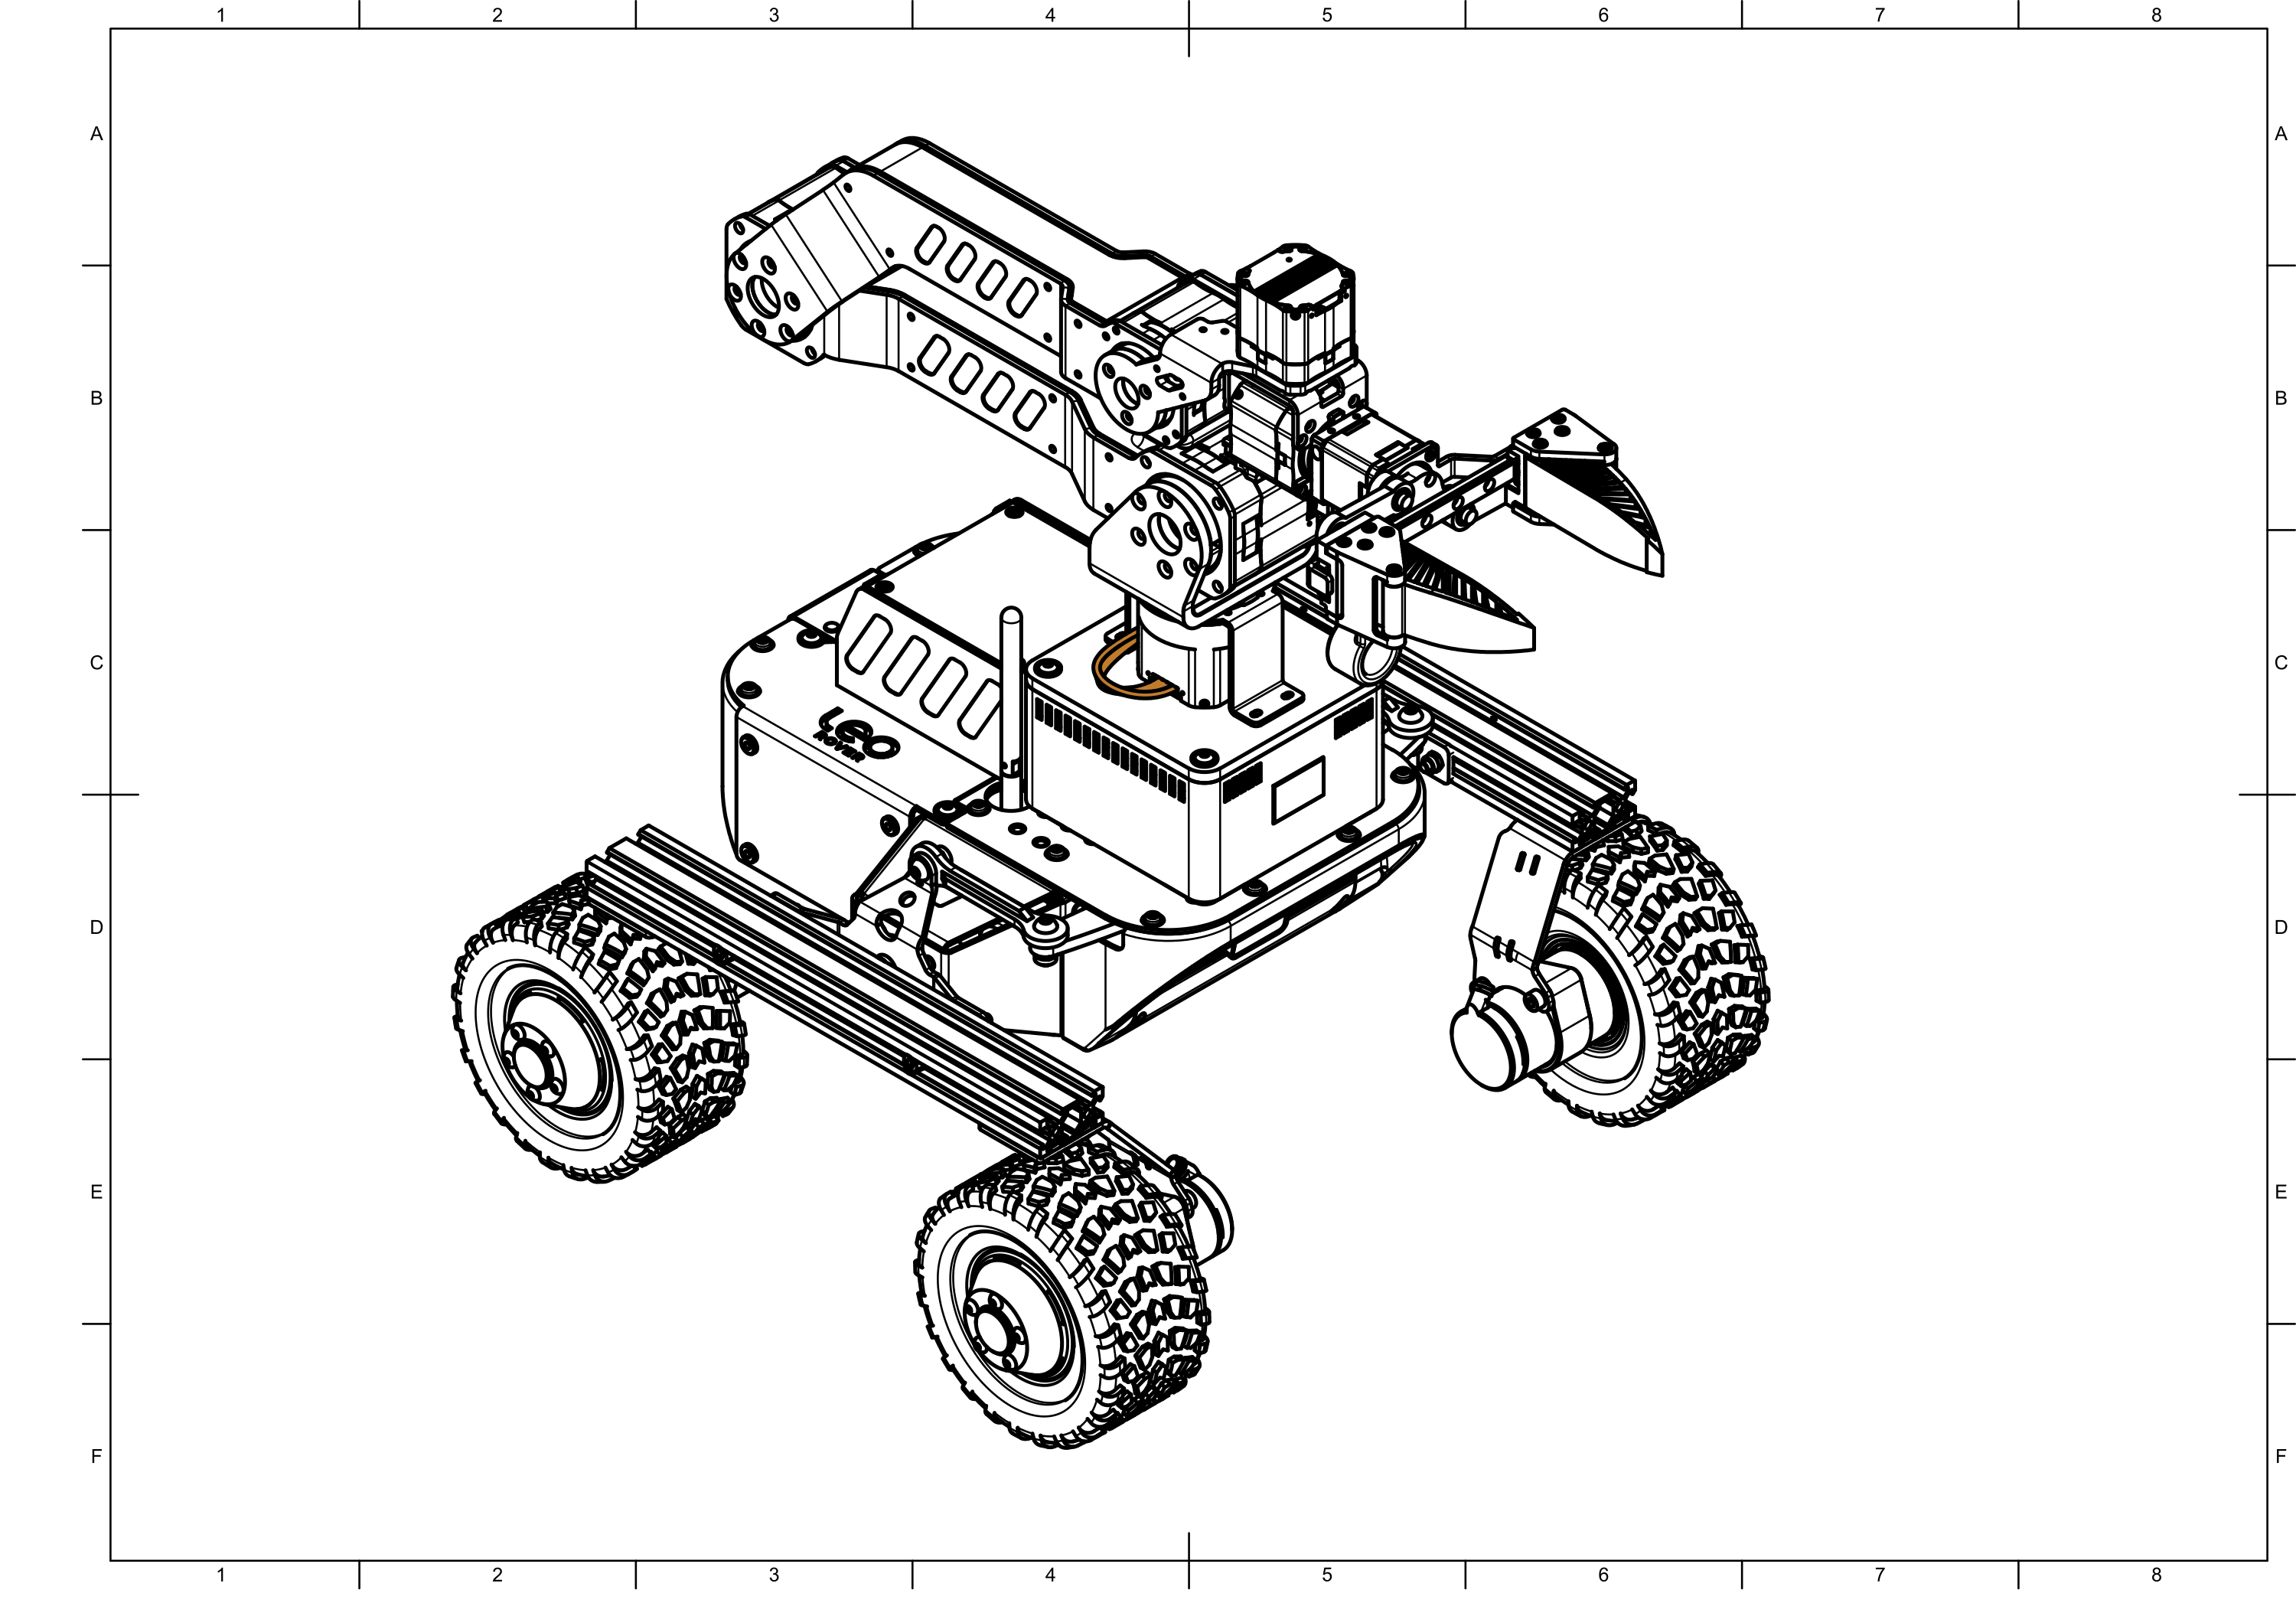
Insert the battery into the slot on the back. Alternatively, power the arm from an external 24 V, 15 A power supply using the XT60 connector inside the battery compartment.
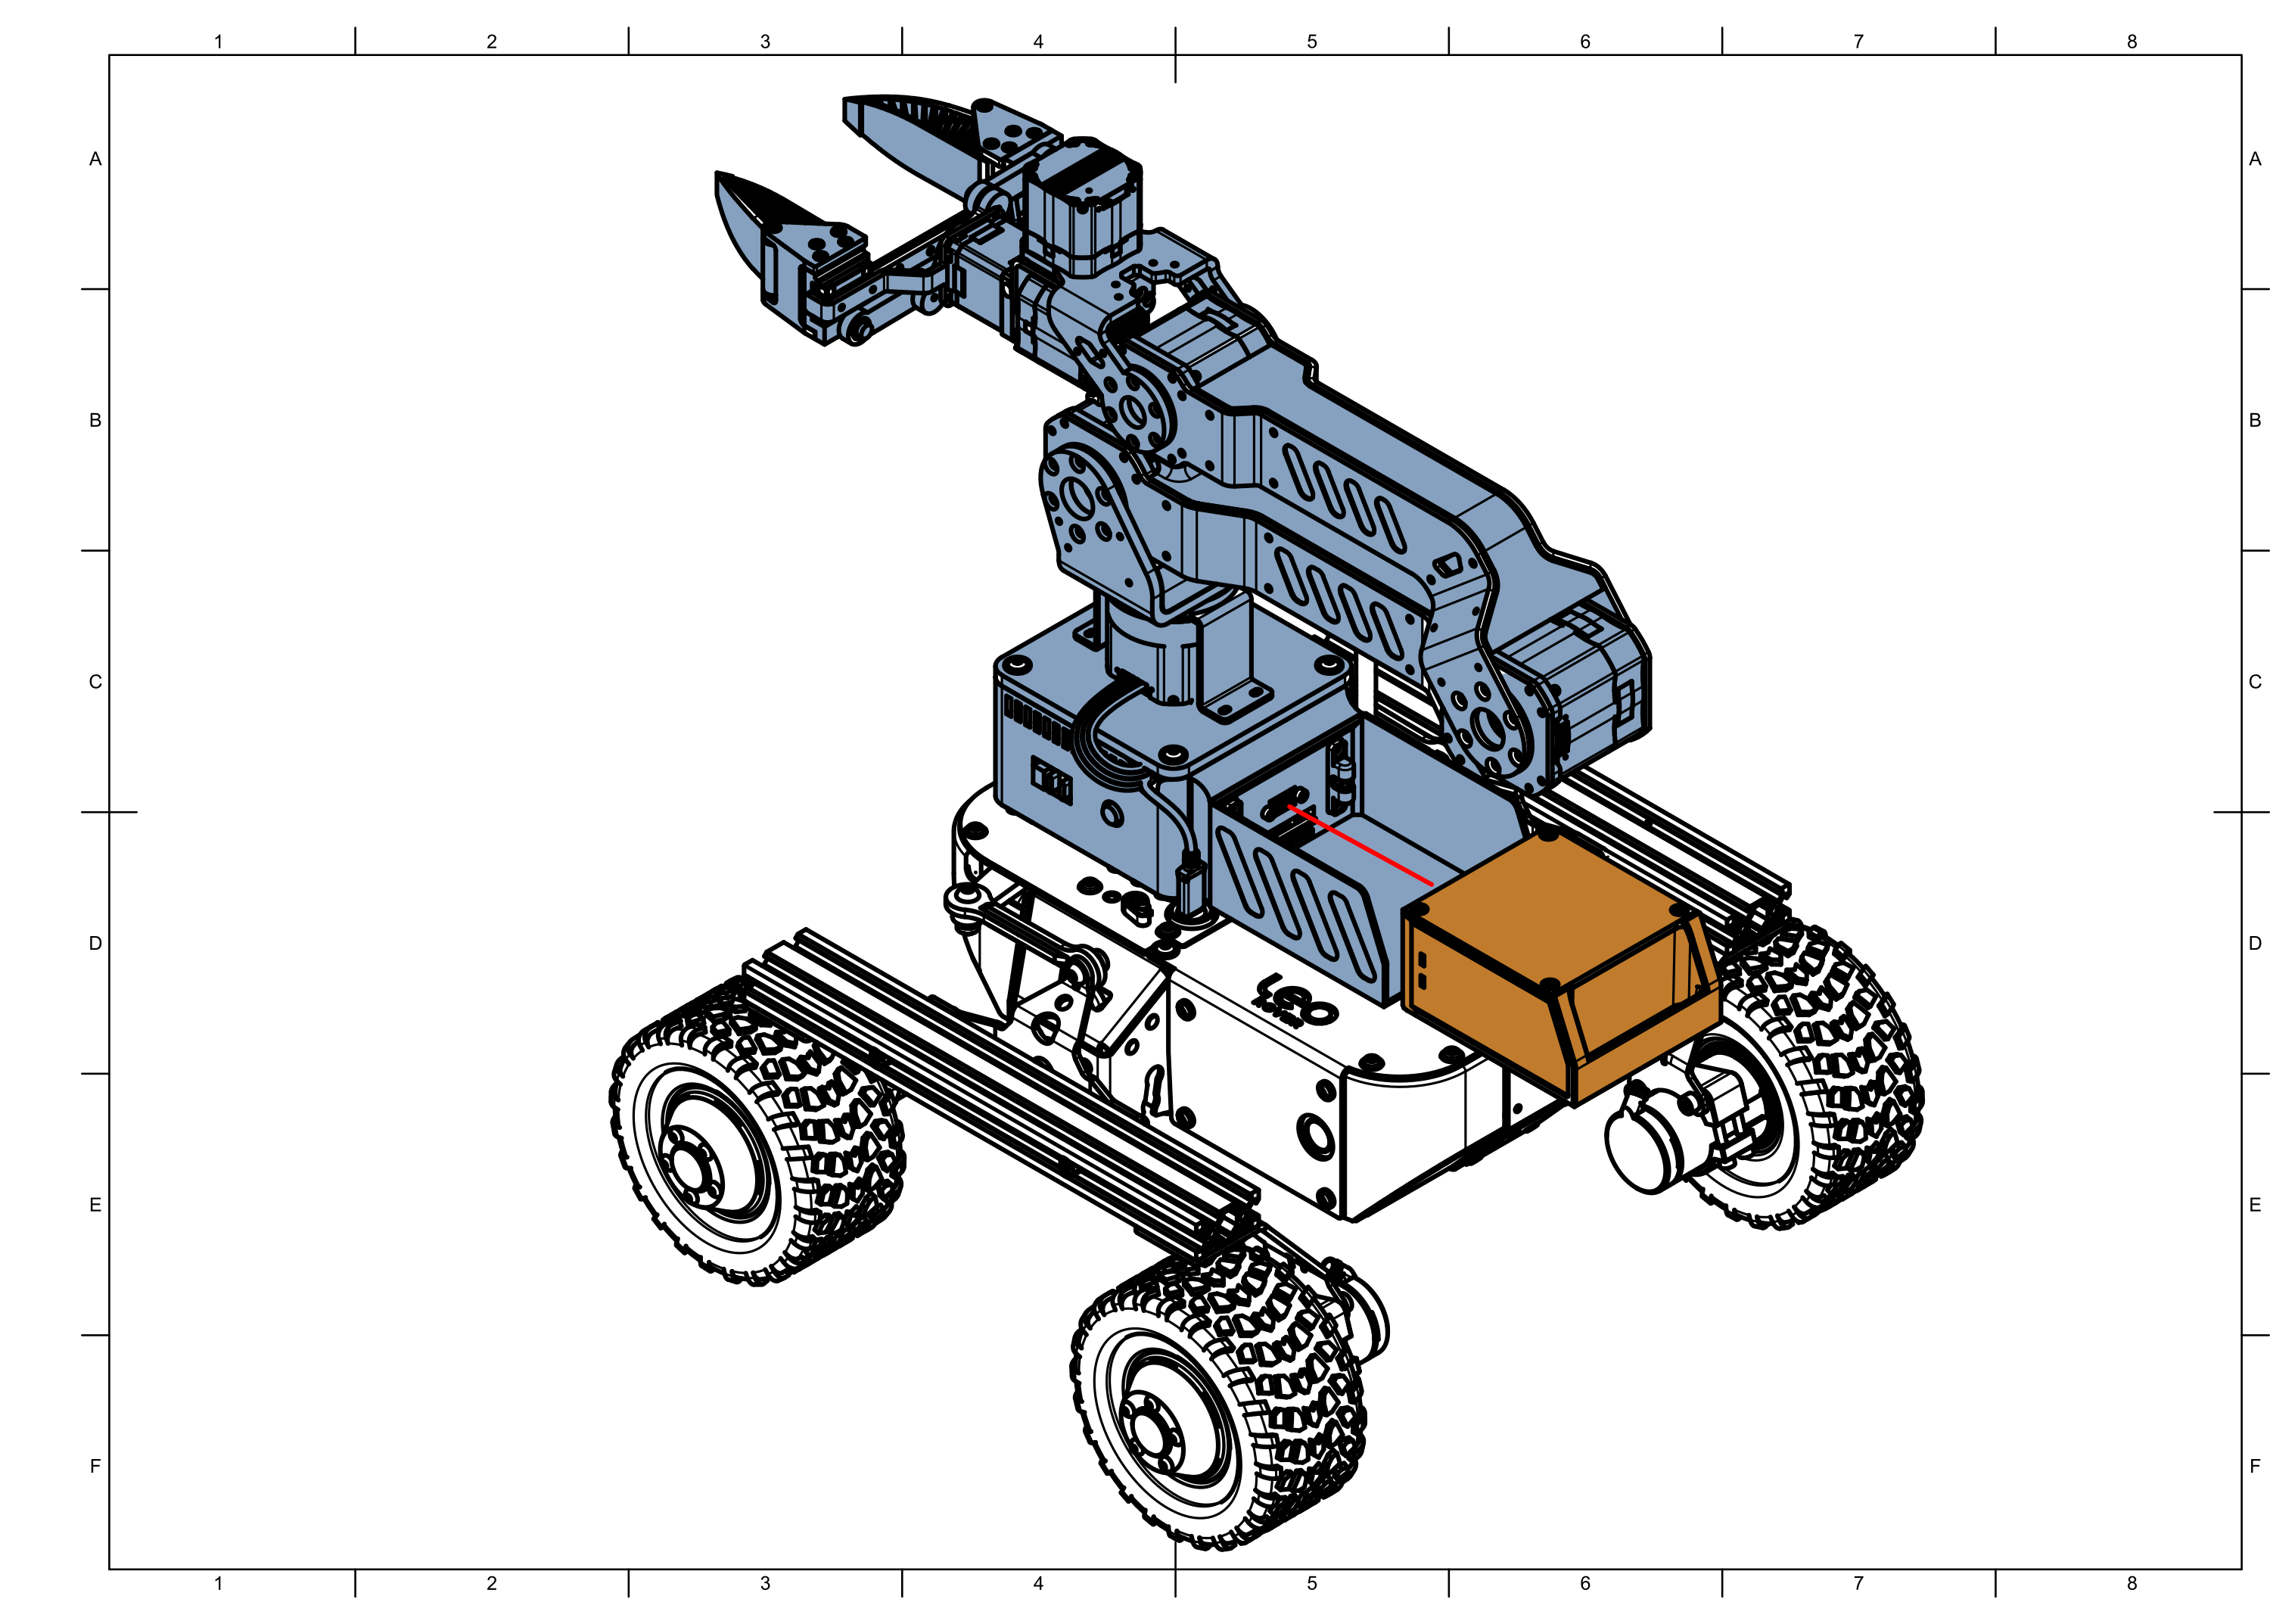
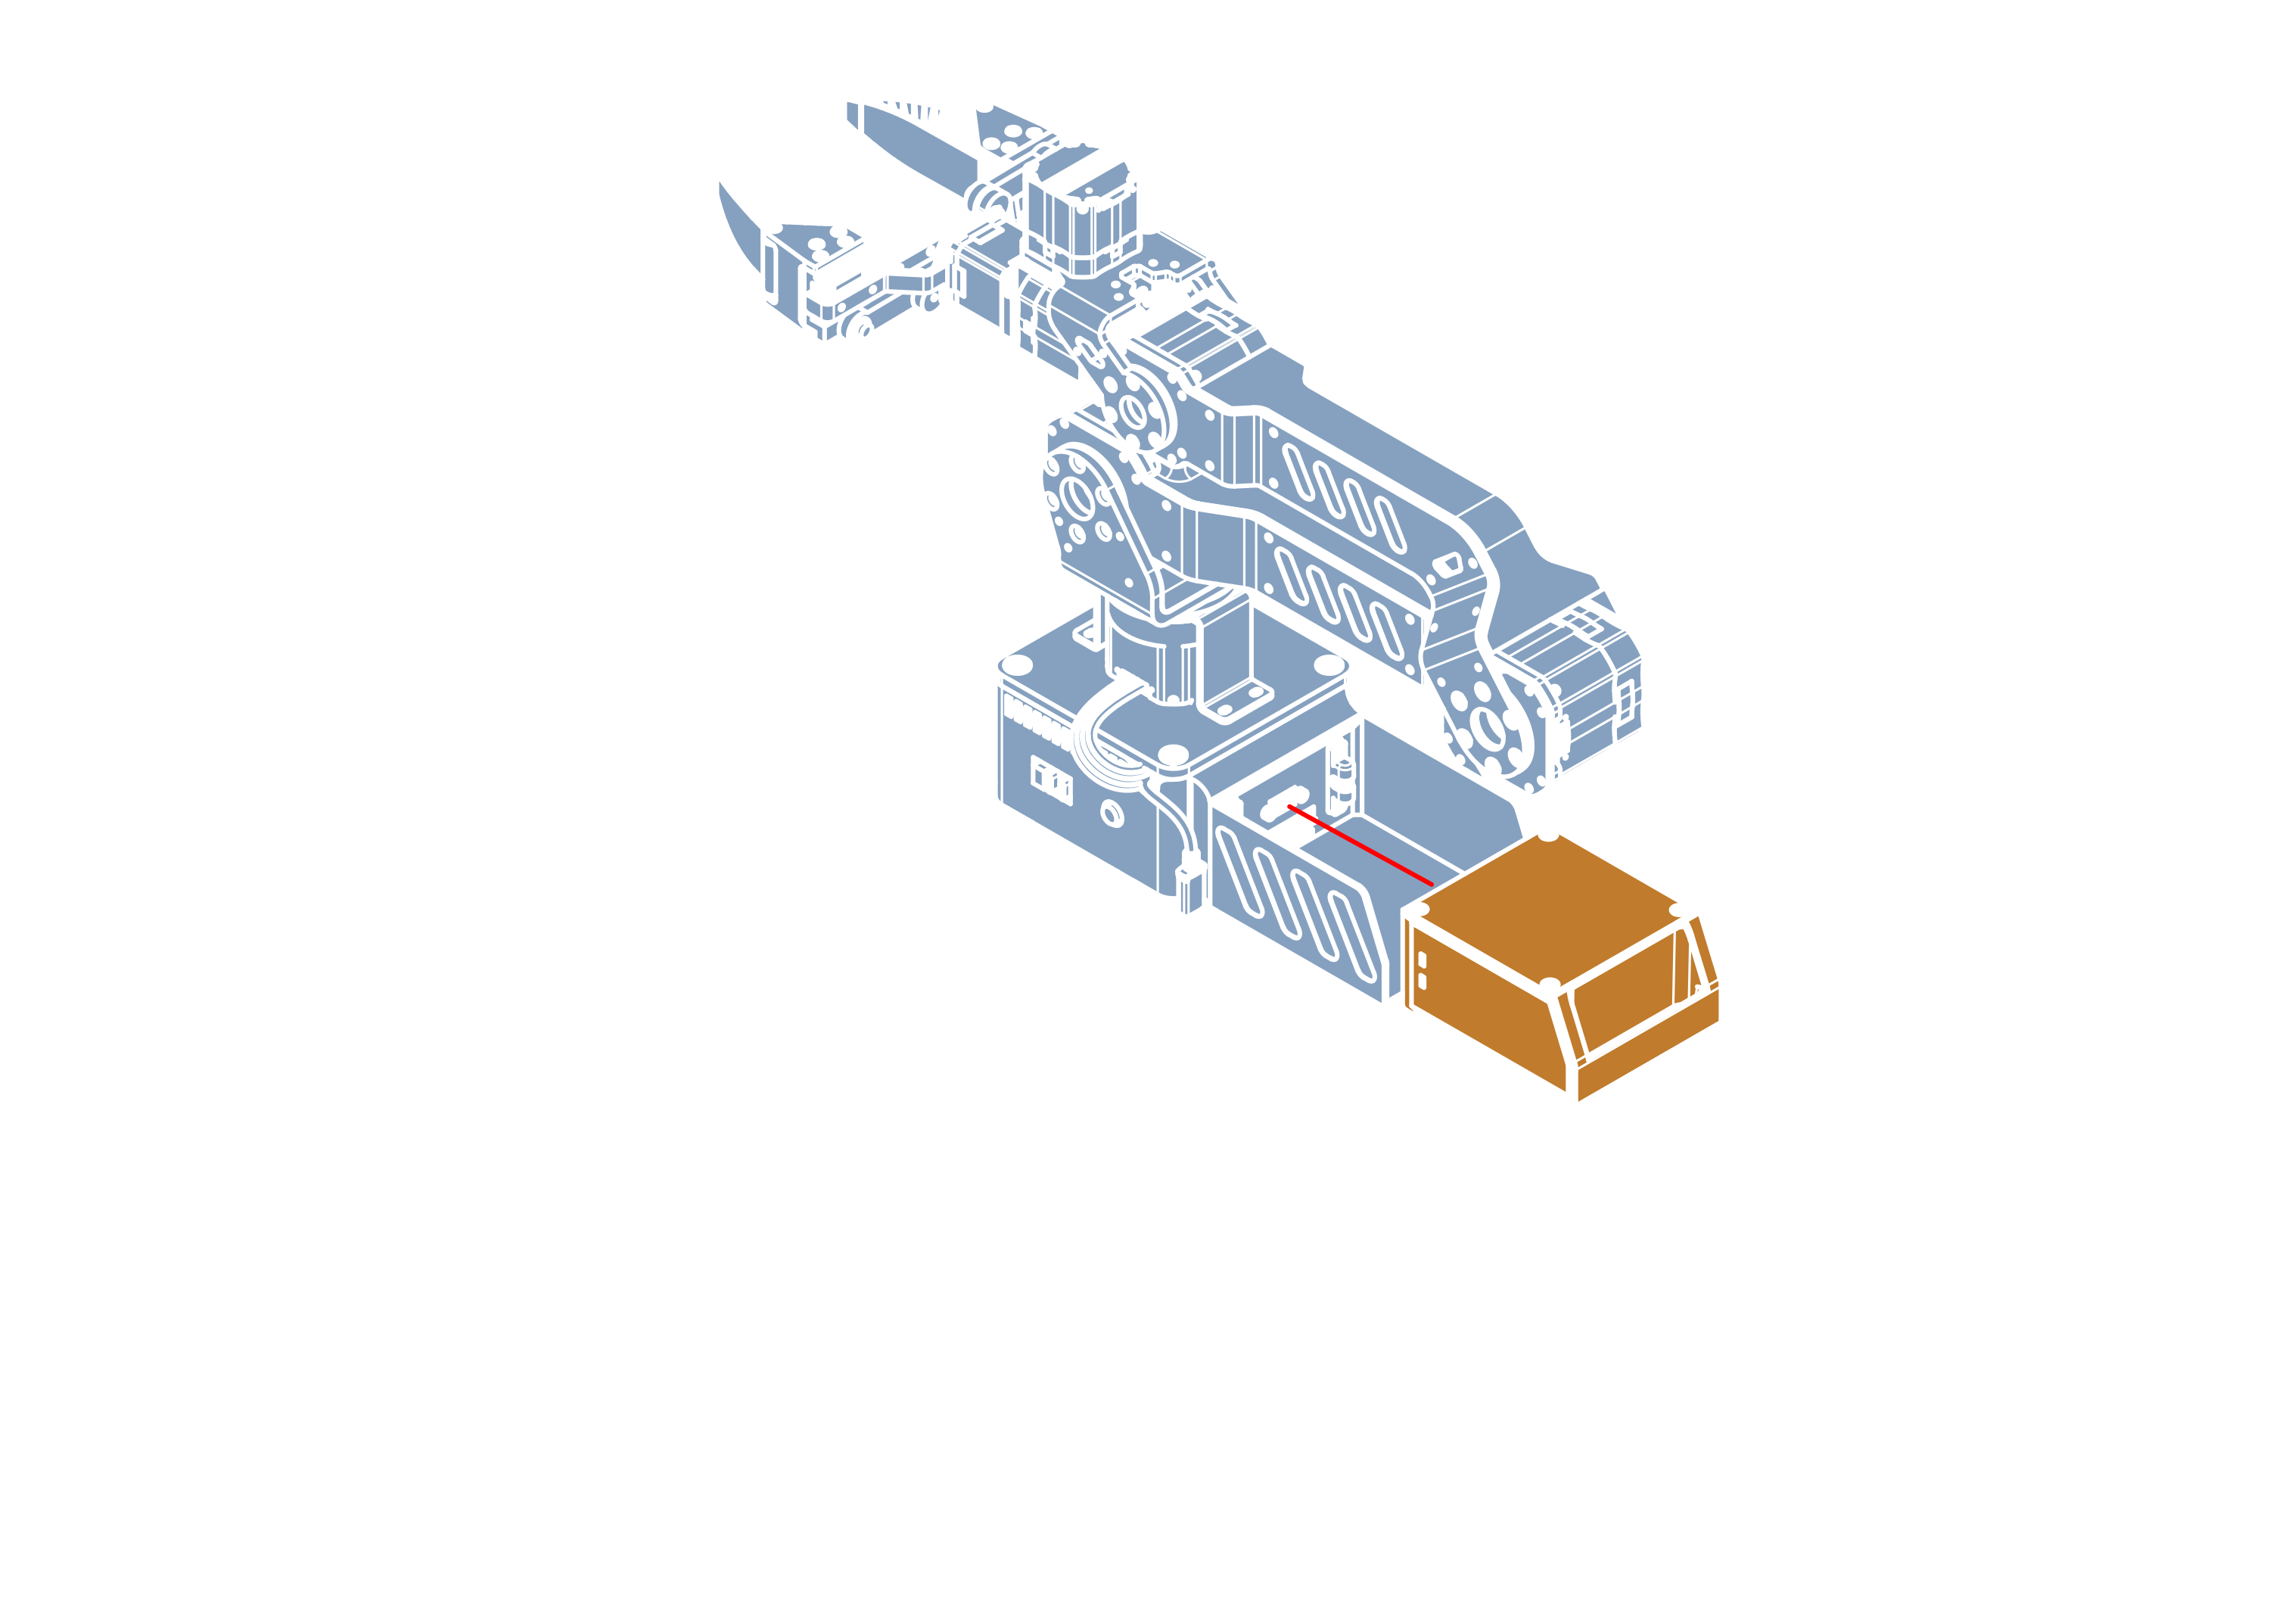
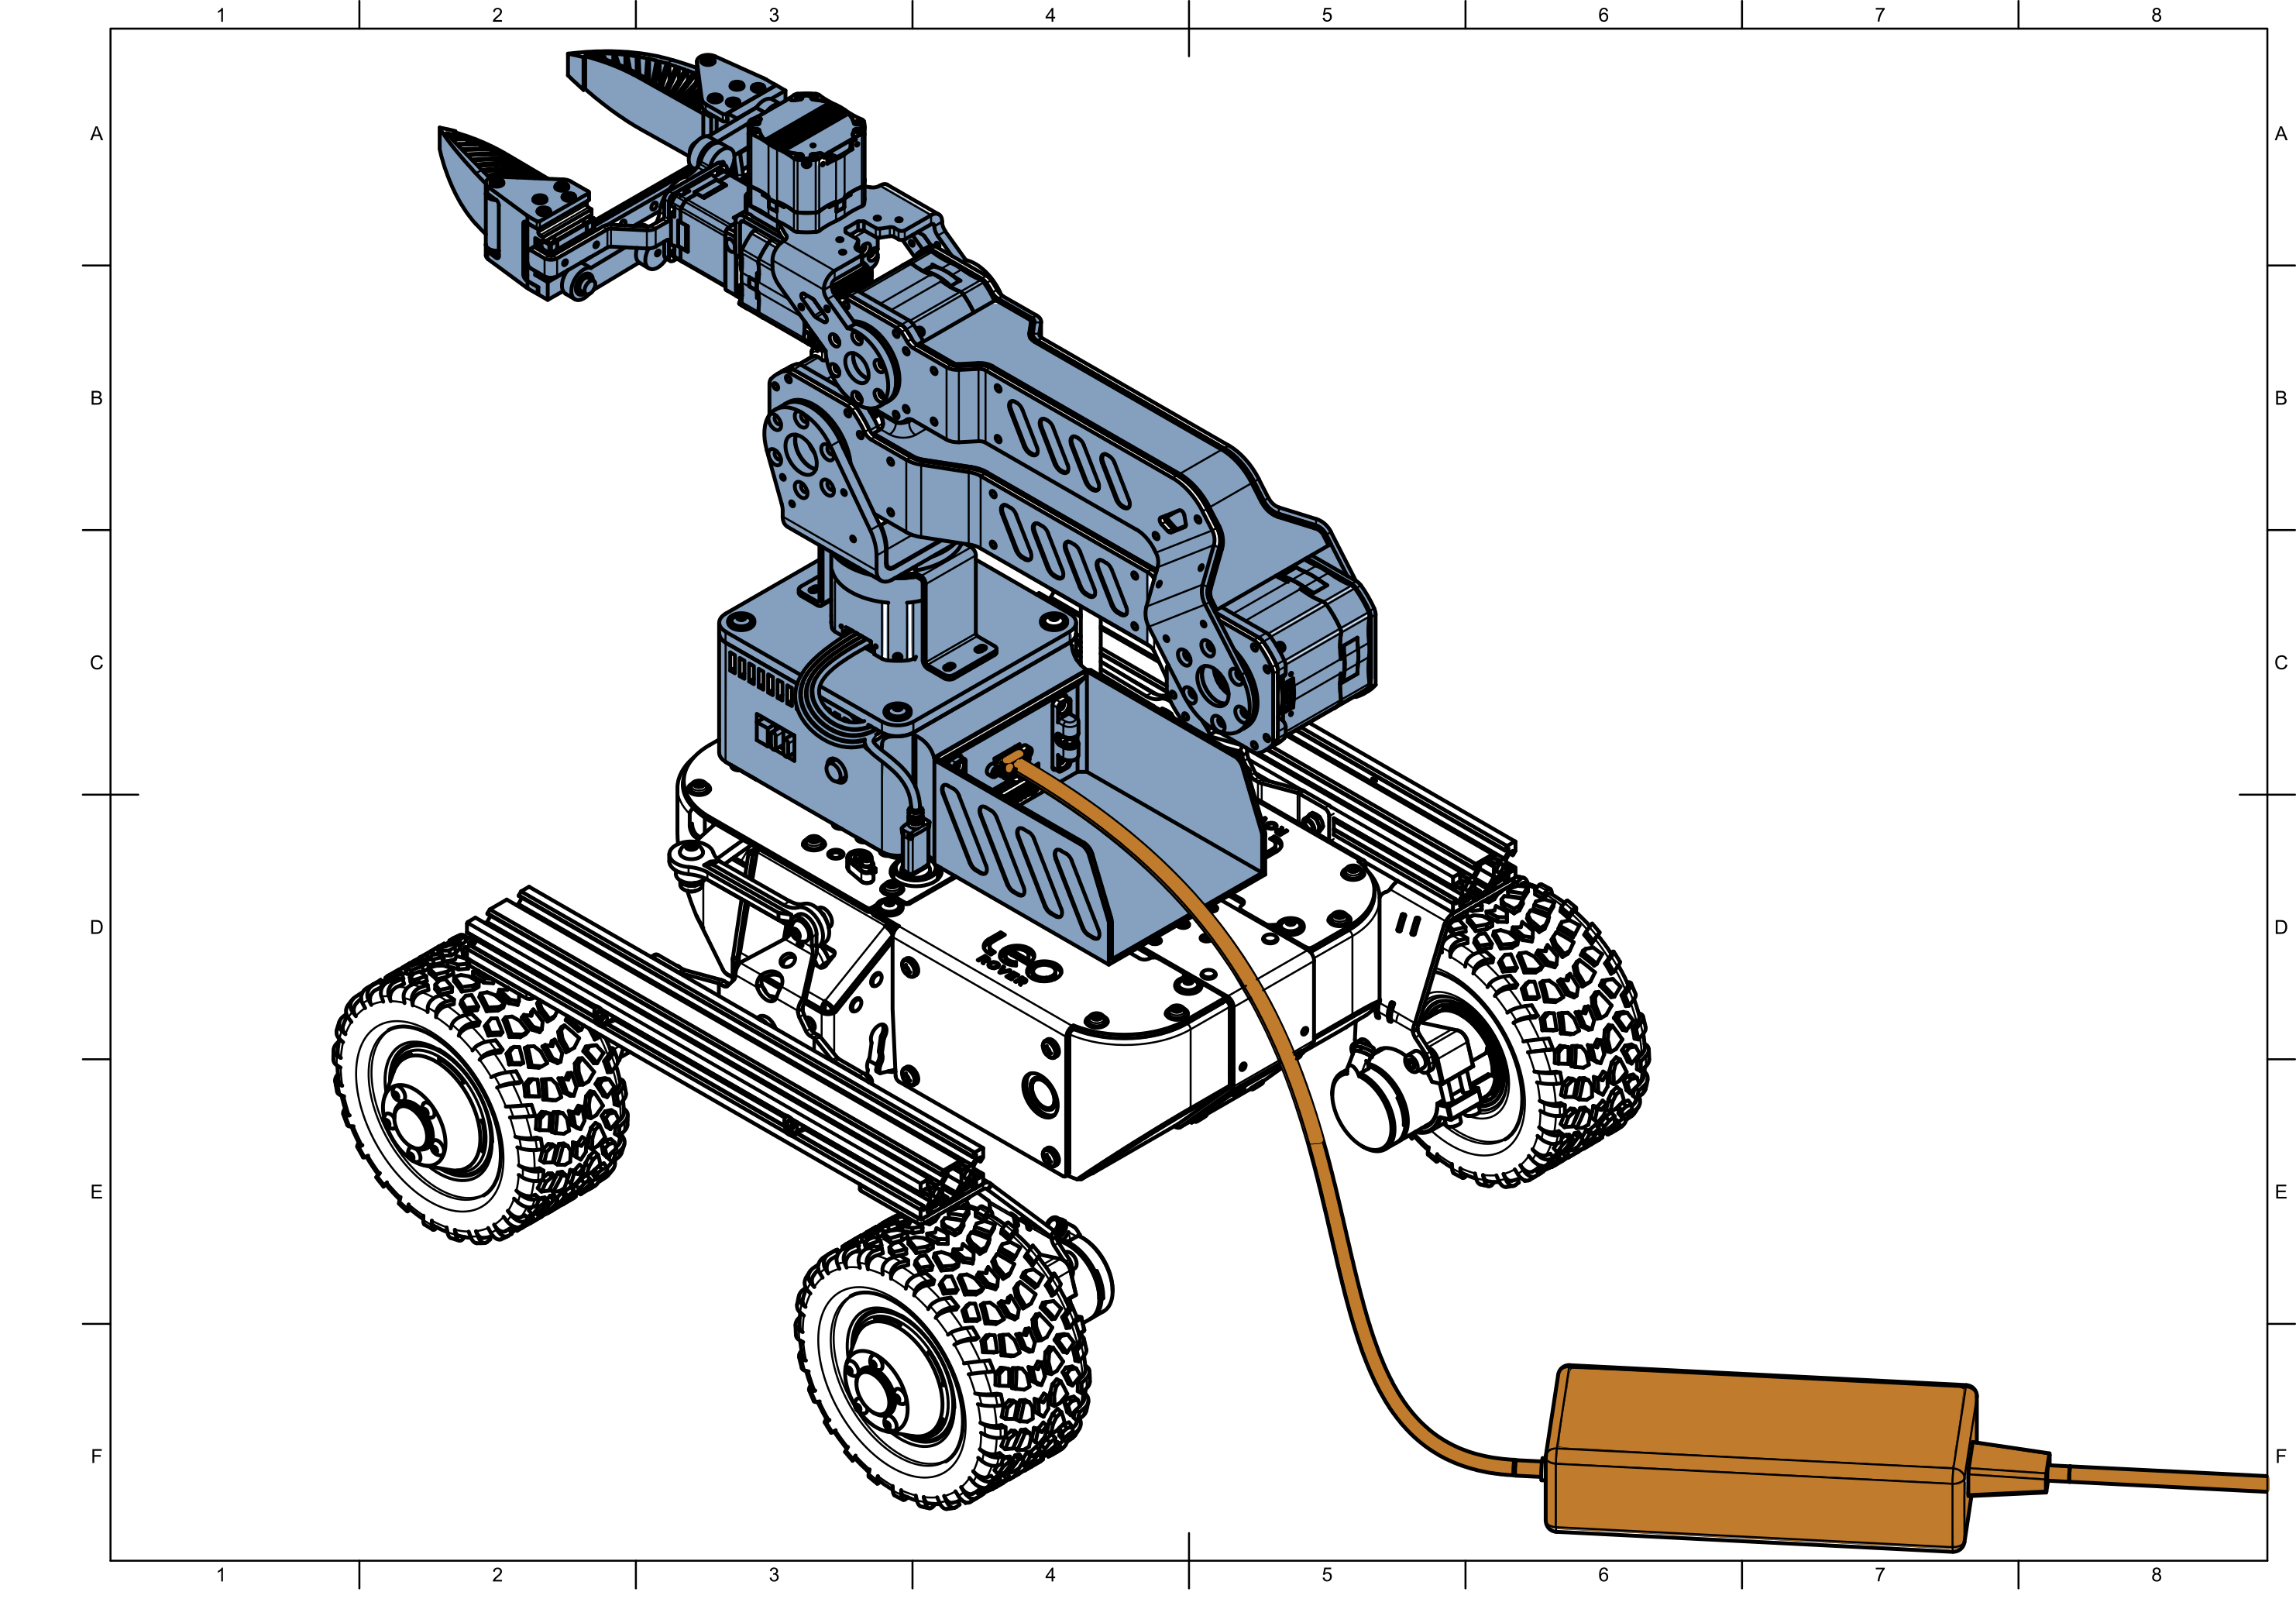
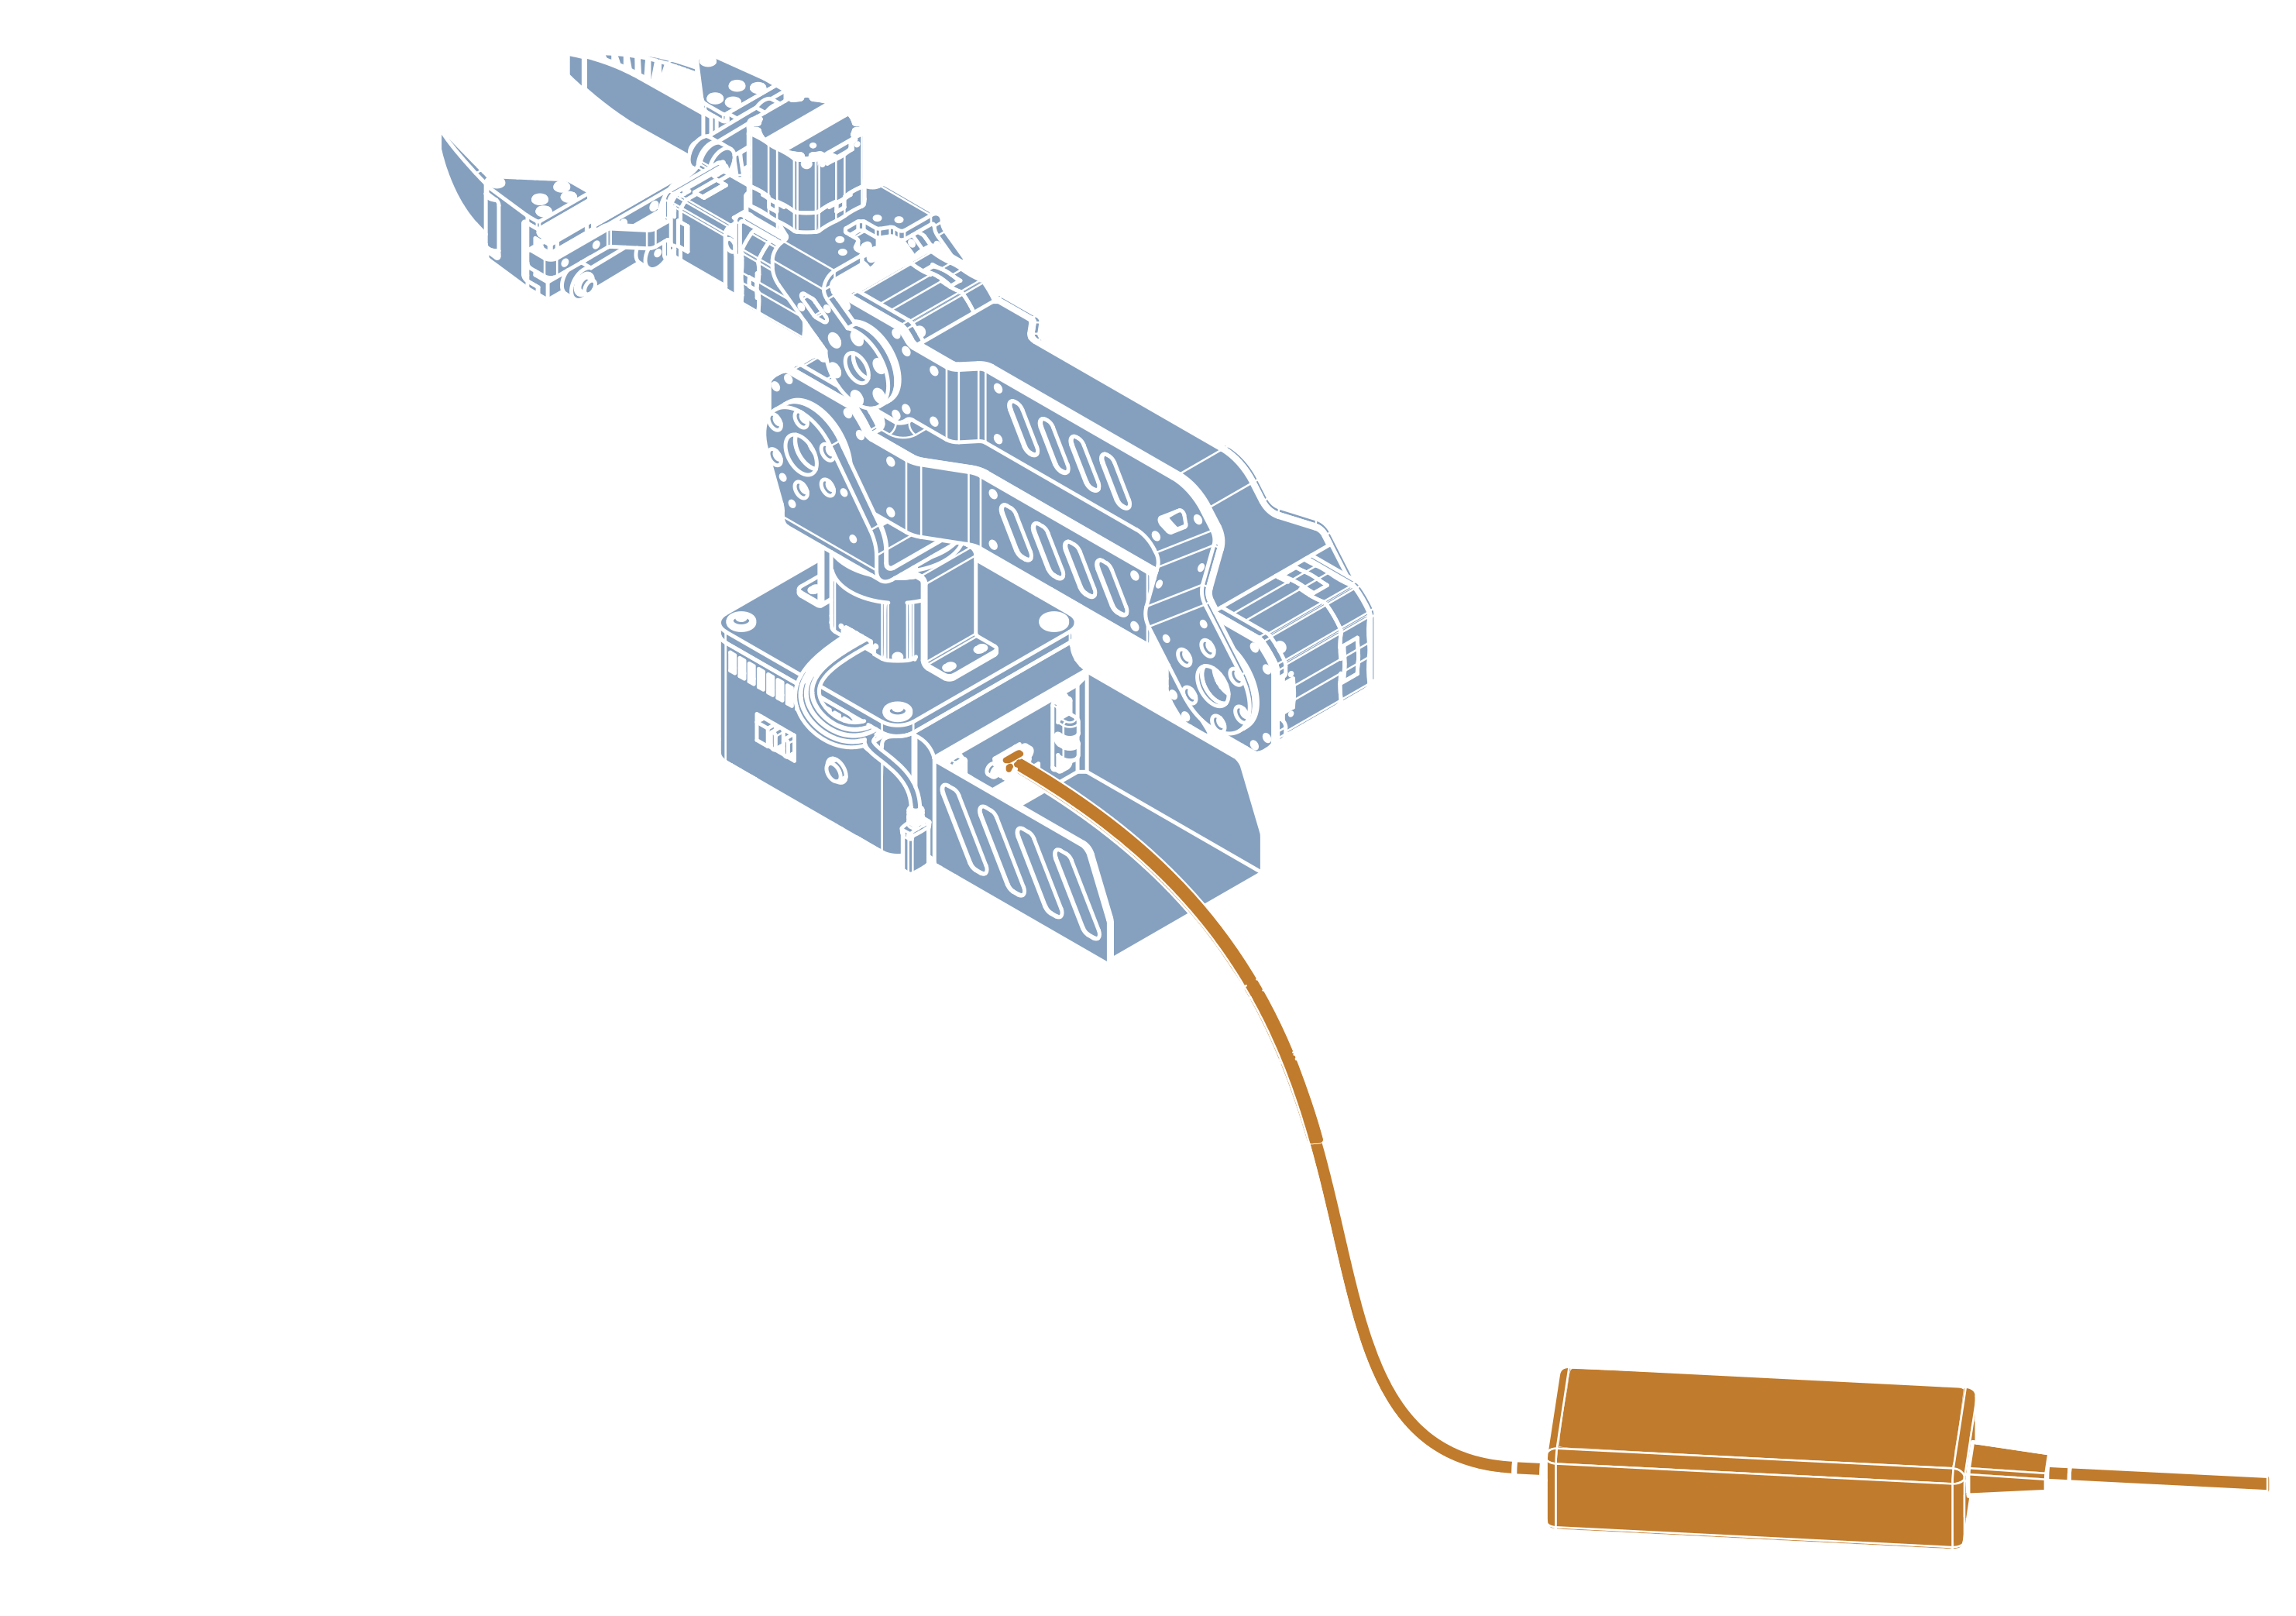
This power supply cannot be used to charge the arm or rover batteries due to incompatible voltages. Do not connect the battery and the external power supply at the same time.
Assembly is finished. You can now power on the arm by pressing the power button on the side of the base.
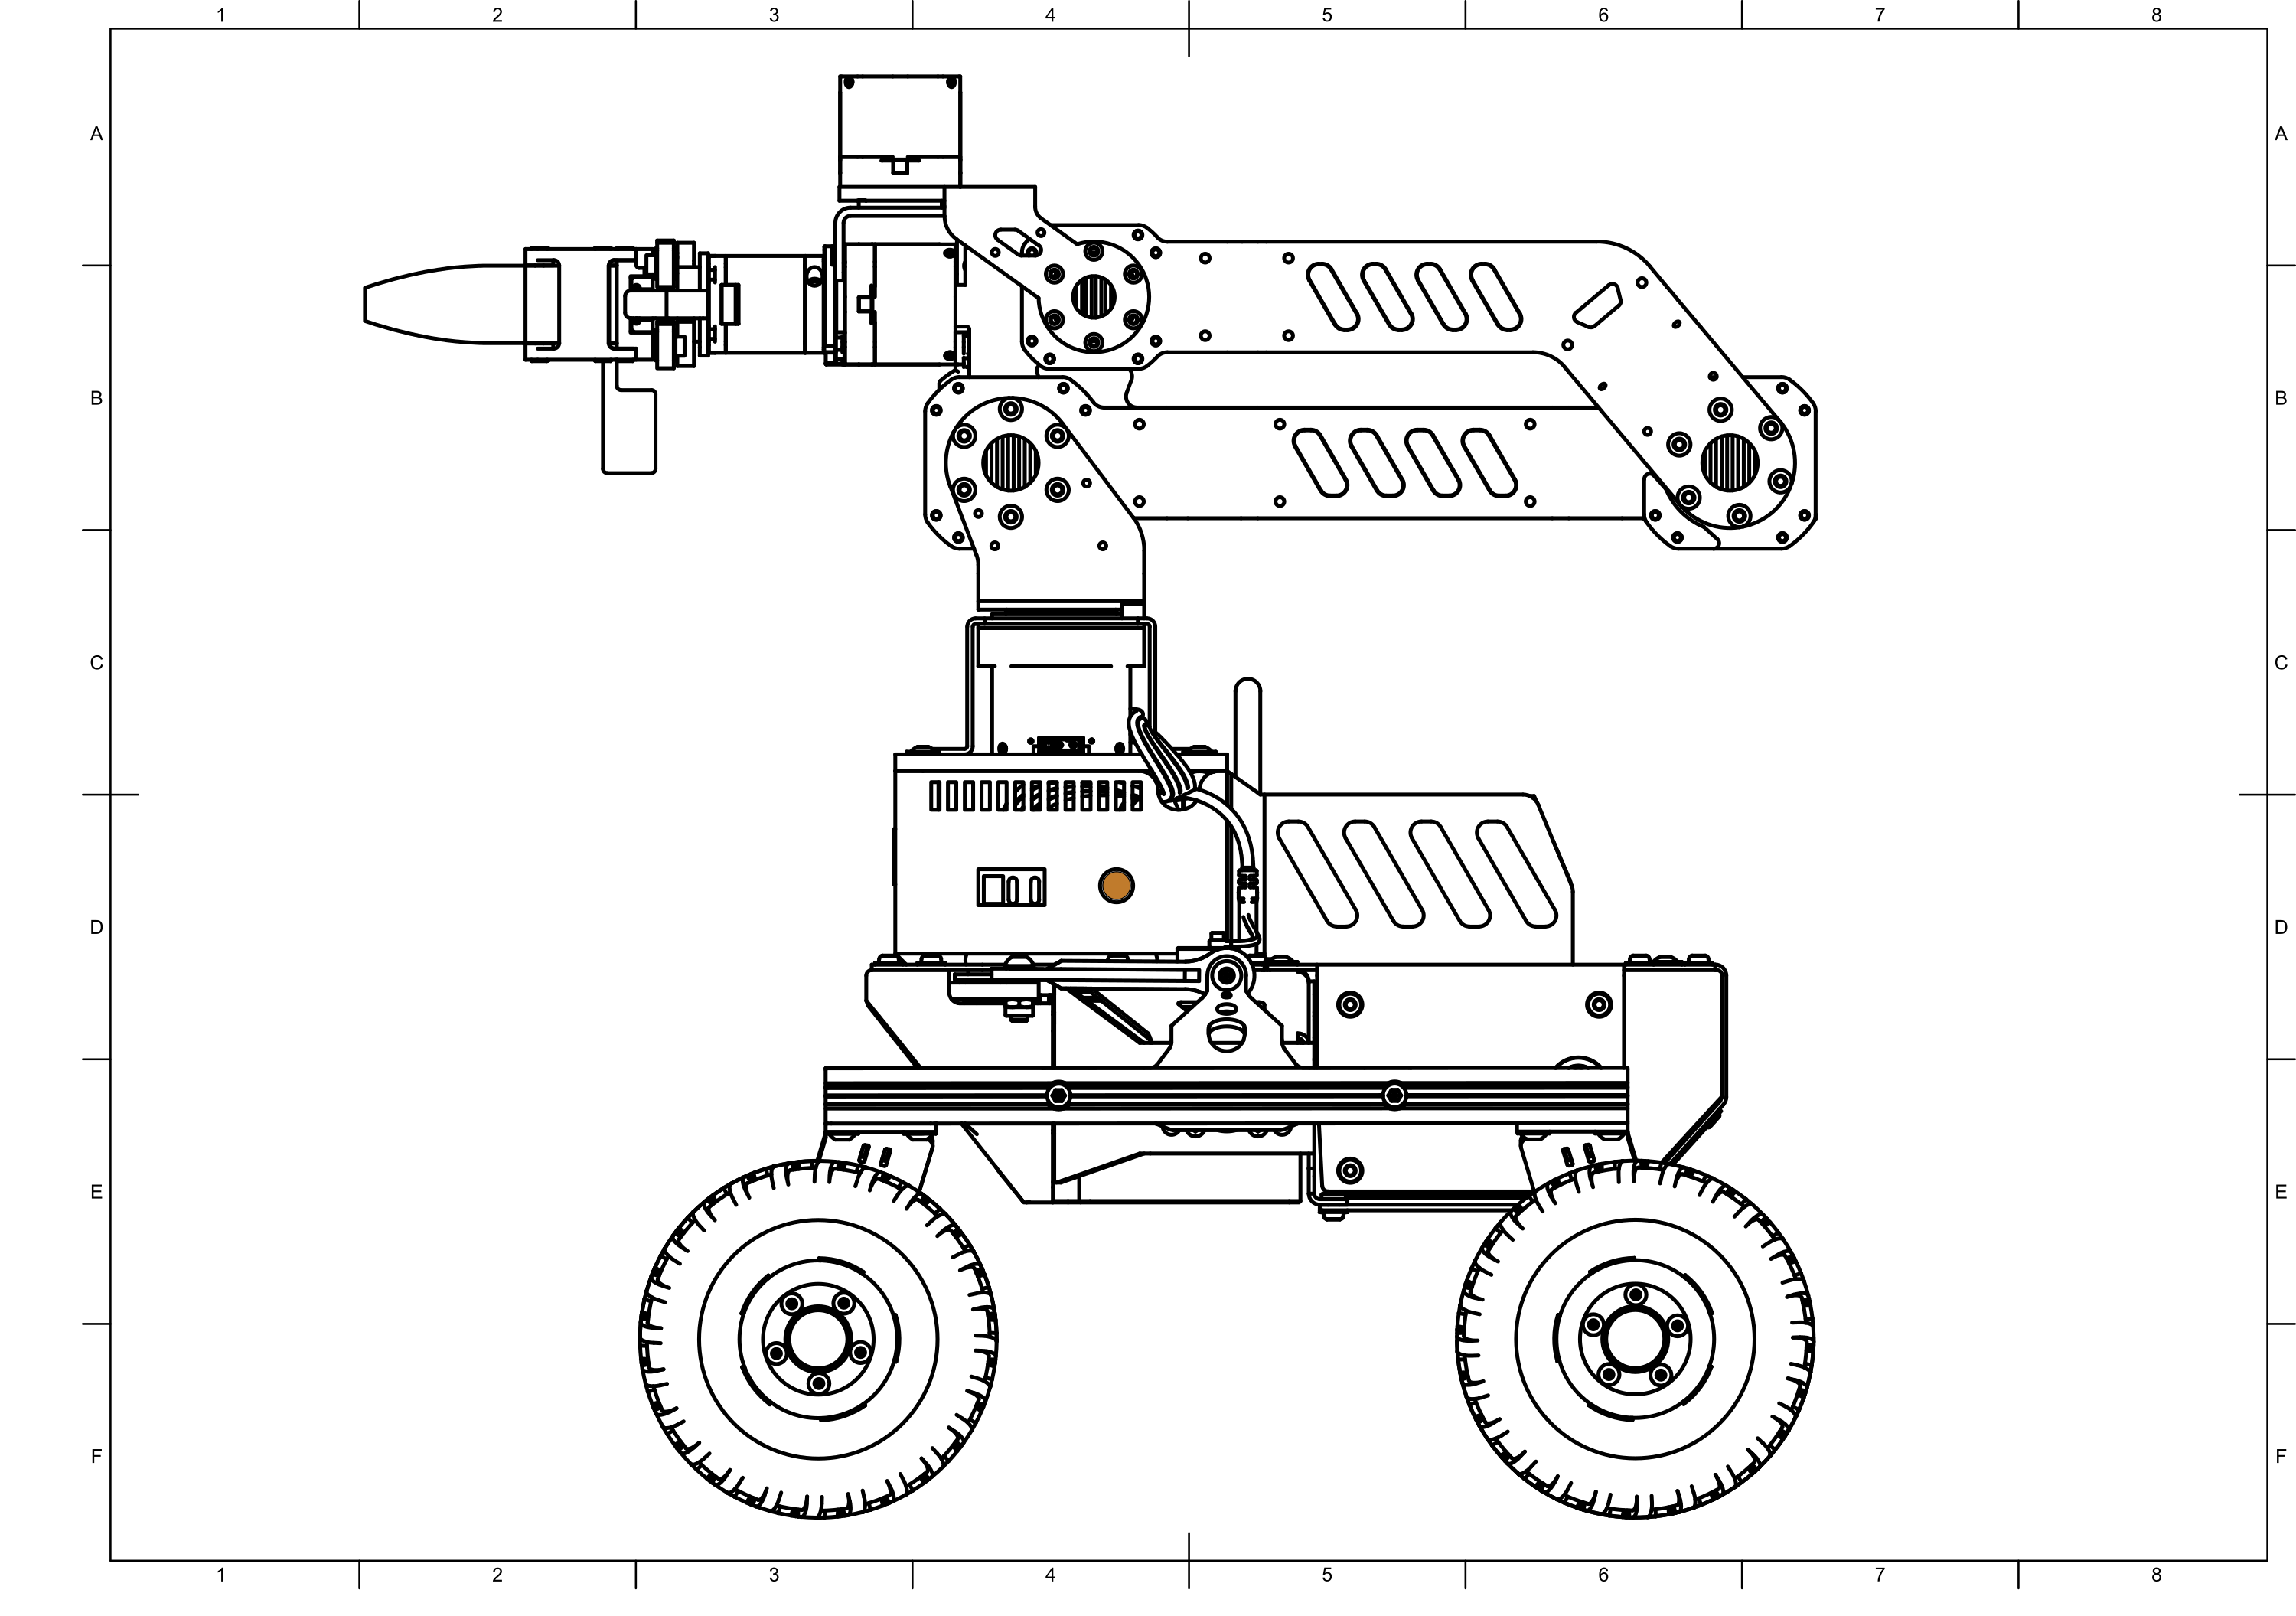
The power button has to be pressed manually on every startup of the arm. This needs to be done before any ROS driver is launched.
Software integration
We have created a custom ROS2 package for Panthera-HT that allows you to control the arm through ROS2 interfaces. This package provides the most important functionalities of the arm, including:
- Controlling the arm through provided SDK
- Controlling the arm via MoveIt
- Controlling the arm with a gamepad
The custom package is based on the official Panthera-HT ROS2 package. The original package contains more functionalities and different methods of controlling the arm, but might need some adjustments to work with Leo Rover. The custom package is a simplified version that is guaranteed to work with Leo Rover.
To install the package, log in to the rover using ssh and make sure that you are using the newest version of packages:
sudo apt update && sudo apt upgrade
You need to create a ROS workspace on the rover if you don't have one already. You can do it by typing in the terminal:
mkdir -p ~/ros_ws/src
Now you can clone the package into your workspace:
cd ~/ros_ws/src
git clone https://github.com/fictionlab/panthera_ht_ros
Go back to the root of your workspace, install dependencies and build the workspace:
cd ~/ros_ws
source /opt/ros/${ROS_DISTRO}/setup.bash
rosdep update
rosdep install --from-paths src --ignore-src -r -y
colcon build --symlink-install
Verifying the arm connection
To check if the arm is connected and motor interfaces are available, you can use the following command:
ls /dev/ttyACM*
You should see devices ranging from /dev/ttyACM0 to /dev/ttyACM6, which
correspond to the motors of the arm. If you don't see any devices, make sure
that the arm is properly connected.
Modifying the URDF model
After installing the panthera_ht_ros package you will need to modify the URDF
model of the robot to include the robotic arm. You can do this by opening the
/etc/ros/urdf/robot.urdf.xacro and placing the following lines in between the
<robot> tags:
  <xacro:include filename="$(find panthera_moveit)/urdf/panthera_ht_moveit.urdf.xacro" />

  <joint name="panthera_ht_joint" type="fixed">
    <origin xyz="0.0575 0.0 0.07"/>
    <parent link="base_link"/>
    <child link="panthera_base_link"/>
  </joint>
If you have placed the robotic arm in a different position than the one
specified in the hardware integration you will have to change the values in
origin property.
To ensure the Panthera models referenced in the URDF are available, set the
Panthera workspace as the default ROS environment on the rover by editing
/etc/ros/setup.bash:
nano /etc/ros/setup.bash
In this file, comment out the default ROS setup line and source your custom workspace instead:
#source /opt/ros/jazzy/setup.bash
source ~/ros_ws/install/setup.bash
To make sure that the changes are applied, run:
ros-nodes-restart
Launching the driver
To launch the driver, you can use the provided launch files. Remember to source the workspace before launching the driver:
source ~/ros_ws/install/setup.bash
To control the arm with the SDK, you can launch the driver with the following command:
ros2 launch panthera_arm_control arm_control.launch.py
Optionally if you want to launch the SDK with the option to control the arm with a gamepad, you can use the following command:
ros2 launch panthera_arm_control arm_control.launch.py launch_joy_teleop:=true
When using the gamepad, the arm_joy_teleop_node will subscribe to the joy
topic. You need to publish the commands on this topic either from the rover or
from your computer. We recommend using the
joy_linux_node to achieve this.
For more information on how to control the arm with a gamepad, see the Controlling the arm with a gamepad section.
To launch the driver with MoveIt, you can use the following command:
ros2 launch panthera_moveit hardware_moveit.launch.py
For more information on how to control the arm with MoveIt, see the Controlling the arm with MoveIt section.
(Optional) Launching the robotic arm driver on boot
To start the robotic arm driver automatically on boot, edit the robot startup file and include the arm driver launch file:
nano /etc/ros/robot.launch.xml
Add this line somewhere in between the launch tag:
<include file="$(find-pkg-share panthera_moveit)/launch/hardware_moveit.launch.py"/>
If you want to use the SDK instead of MoveIt, you can replace the file
attribute with the path to the arm_control.launch.py file.
To launch the driver, you can reboot the robot or restart the ROS nodes:
ros-nodes-restart
To view the ROS nodes logs for debugging purposes, you can use the following command:
ros-nodes-logs -f
Now you should be able to control the robotic arm through ROS interfaces on every boot of the robot.
The power on button on the robotic arm must be pressed before the driver is
launched which is now done after the boot. You will need to press the power
button on the arm before the robot is fully booted. If the driver fails to
launch, you can try to restart ros nodes with ros-nodes-restart after pressing
the power button.
Example usage
Controlling the arm with MoveIt
When using the hardware_moveit.launch.py launch file, you can control the arm
through MoveIt interfaces. To visualize the arm in RViz, build the package on
your computer and launch the RViz using a provided launch file:
ros2 launch panthera_moveit rviz.launch.py
RViz plugin loading will fail if MoveIt packages are not installed. Installing
the moveit_ros_visualization package will fix this issue:
sudo apt install ros-$ROS_DISTRO-moveit-ros-visualization
source <your_workspace>/install/setup.bash
ros2 launch panthera_moveit rviz.launch.py
This will open RViz and show the below display:
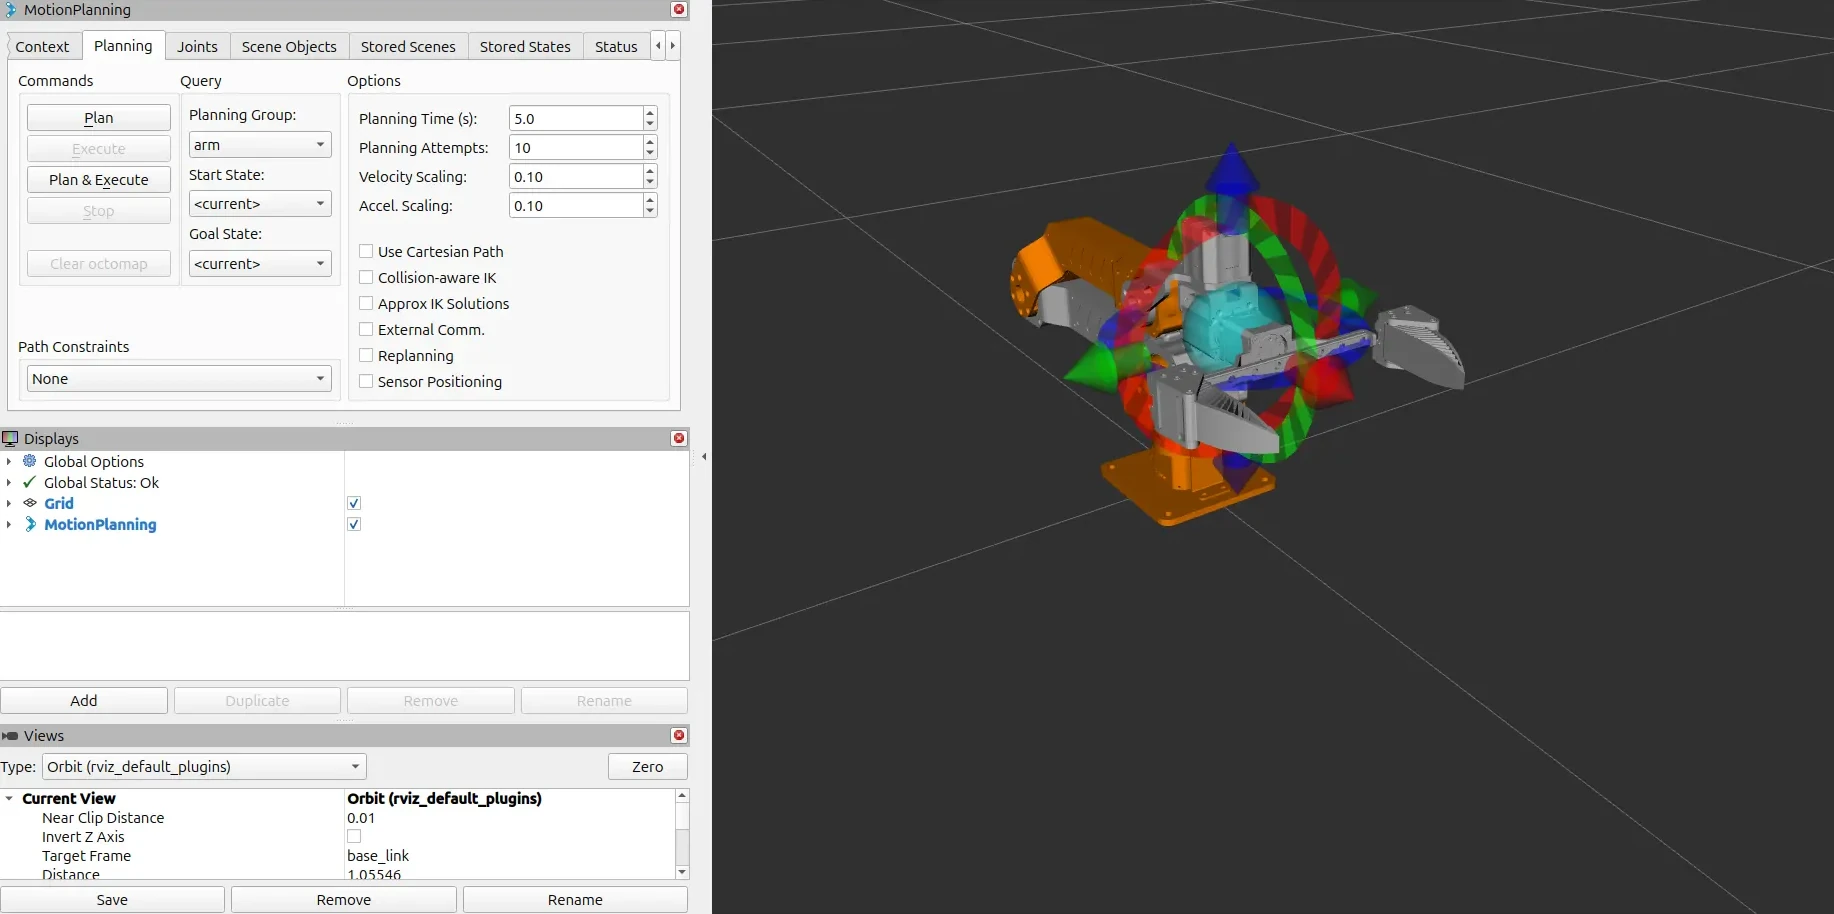
MoveIt can be controlled through the MotionPlanning window and through the visualization. In order to execute a trajectory, you can first move the end-effector to a desired position and orientation using the interactive markers in the visualization and then click the "Plan and Execute" button in the MotionPlanning window.
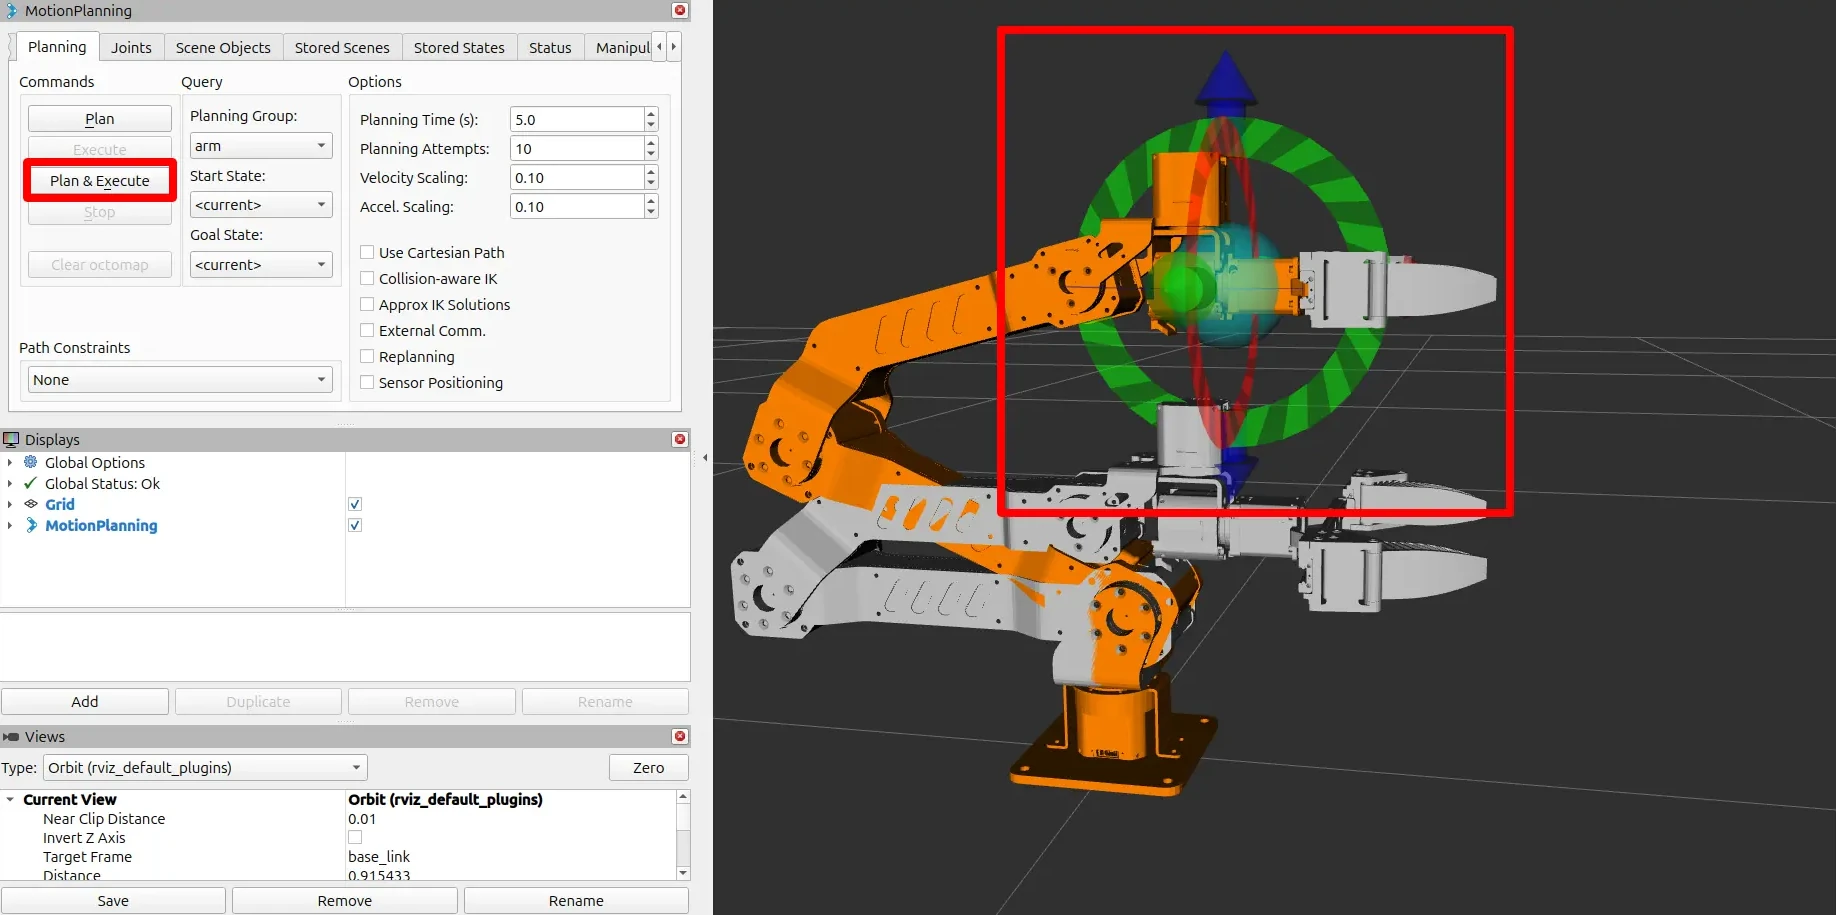
The orange arm model shows the planned position after trajectory execution, while the white arm model shows the current position of the arm.
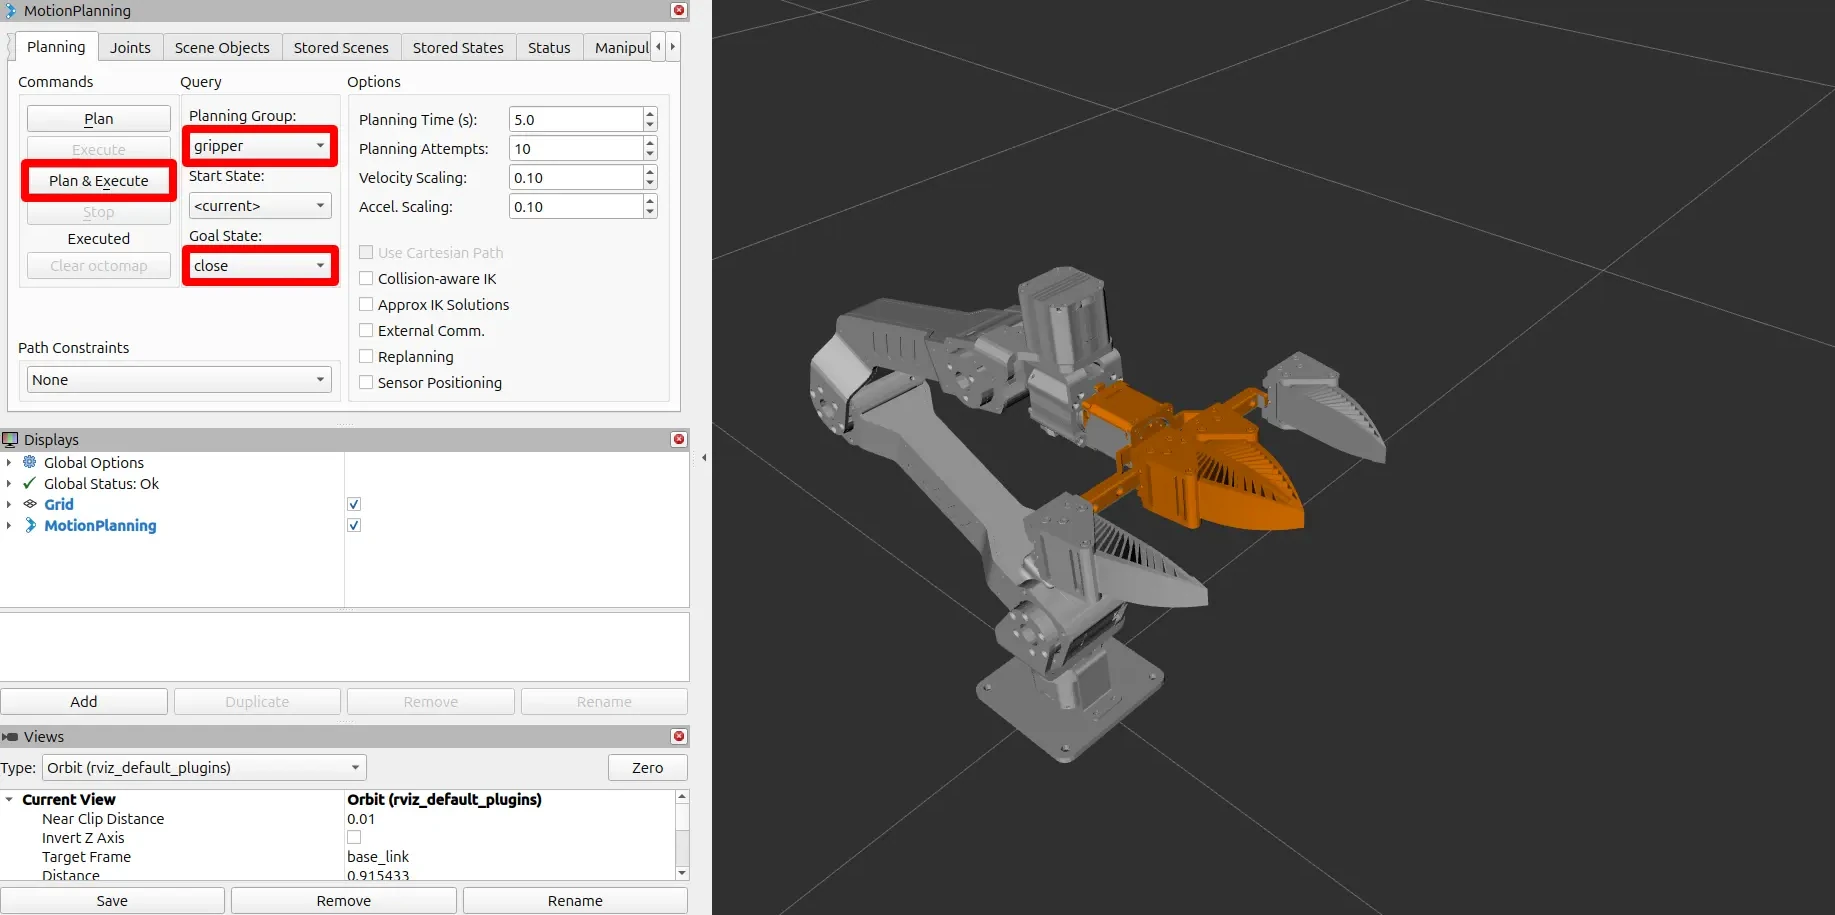
If you want to control the gripper, you need to change the planning group in the
MotionPlanning window to gripper and then you can choose the goal state from
the dropdown menu. After clicking the "Plan and Execute" button, the gripper
will move to the desired state.
Feel free to play around with other functionalities of the MotionPlanning
window, such as changing the planning parameters or setting angle goals for each
joint separately.
Controlling the arm with a gamepad
To launch the driver with the option to control the arm with a gamepad, run the following command on the robot:
ros2 launch panthera_arm_control arm_control.launch.py launch_joy_teleop:=true
You need to publish the commands on the joy topic. To do that from your
computer, run:
sudo apt install ros-${ROS_DISTRO}-joy-linux
ros2 run joy_linux joy_linux_node
This will launch the joy_linux_node that will publish the gamepad commands on
the joy topic with default configuration. You can change the configuration by
providing a custom config file to the node:
/joy_node:
  ros__parameters:
    device: /dev/input/js0
    deadzone: 0.1
    coalesce_interval: 0.05
    autorepeat_rate: 10.0
To launch the node with the custom configuration:
ros2 run joy_linux joy_linux_node --ros-args --params-file your_config/joy_linux.yaml
Now your controller commands will be sent to the joy topic and the
arm_joy_teleop_node will subscribe to it and control the arm accordingly.
These are the default gamepad mappings for controlling the arm (based on Xbox controller):
| Input | Function |
|---|---|
| RB | Enables motion commands in base/world frame |
| LB | Enables motion commands in end-effector frame |
| Left stick vertical | Linear X motion |
| Left stick horizontal | Linear Y motion |
| Right trigger | Positive Z motion |
| Left trigger | Negative Z motion |
| Right stick horizontal | Roll commands |
| Right stick vertical | Pitch commands |
| D-pad horizontal | Yaw commands |
| Y | Open gripper |
| A | Close gripper |
| B | Return to home position |
- Controllers other than Xbox can be used, the mappings should align to corresponding buttons and axes.
- If no deadman is held (neither LB nor RB), no motion commands are sent.
- LB (local deadman): translations are relative to the current end-effector orientation.
- RB (world deadman): translations are relative to the base/world frame.
What's next?
Now that Panthera-HT is integrated, you can combine manipulation with improved perception for manipulation tasks. Consider adding a camera or using ArUco tracking for marker-based alignment and repeatable grasp positioning.
You can also explore more software and hardware options in other integrations available for Leo Rover.